Enterprise Power on a Budget: My APC SMT1500RM2U Refurb (1/2)
Introduction
I’ll mention a lot in this blog that I love using and refurbishing old electronics. It’s a rewarding way to learn and build an impressive tech arsenal on a budget. My ever-growing equipment rack is a testament to this passion. However, one critical piece was missing: a UPS.
Most of my equipment lives on one rack. It only makes sense that this rack has uninterupptable, regulated, and surge protected power. Unfortunately, that peace of mind comes with a heavy price. The sticker schock for a new 1000W UPS nearly sent me packing. Starting at ~$400 on Amazon!
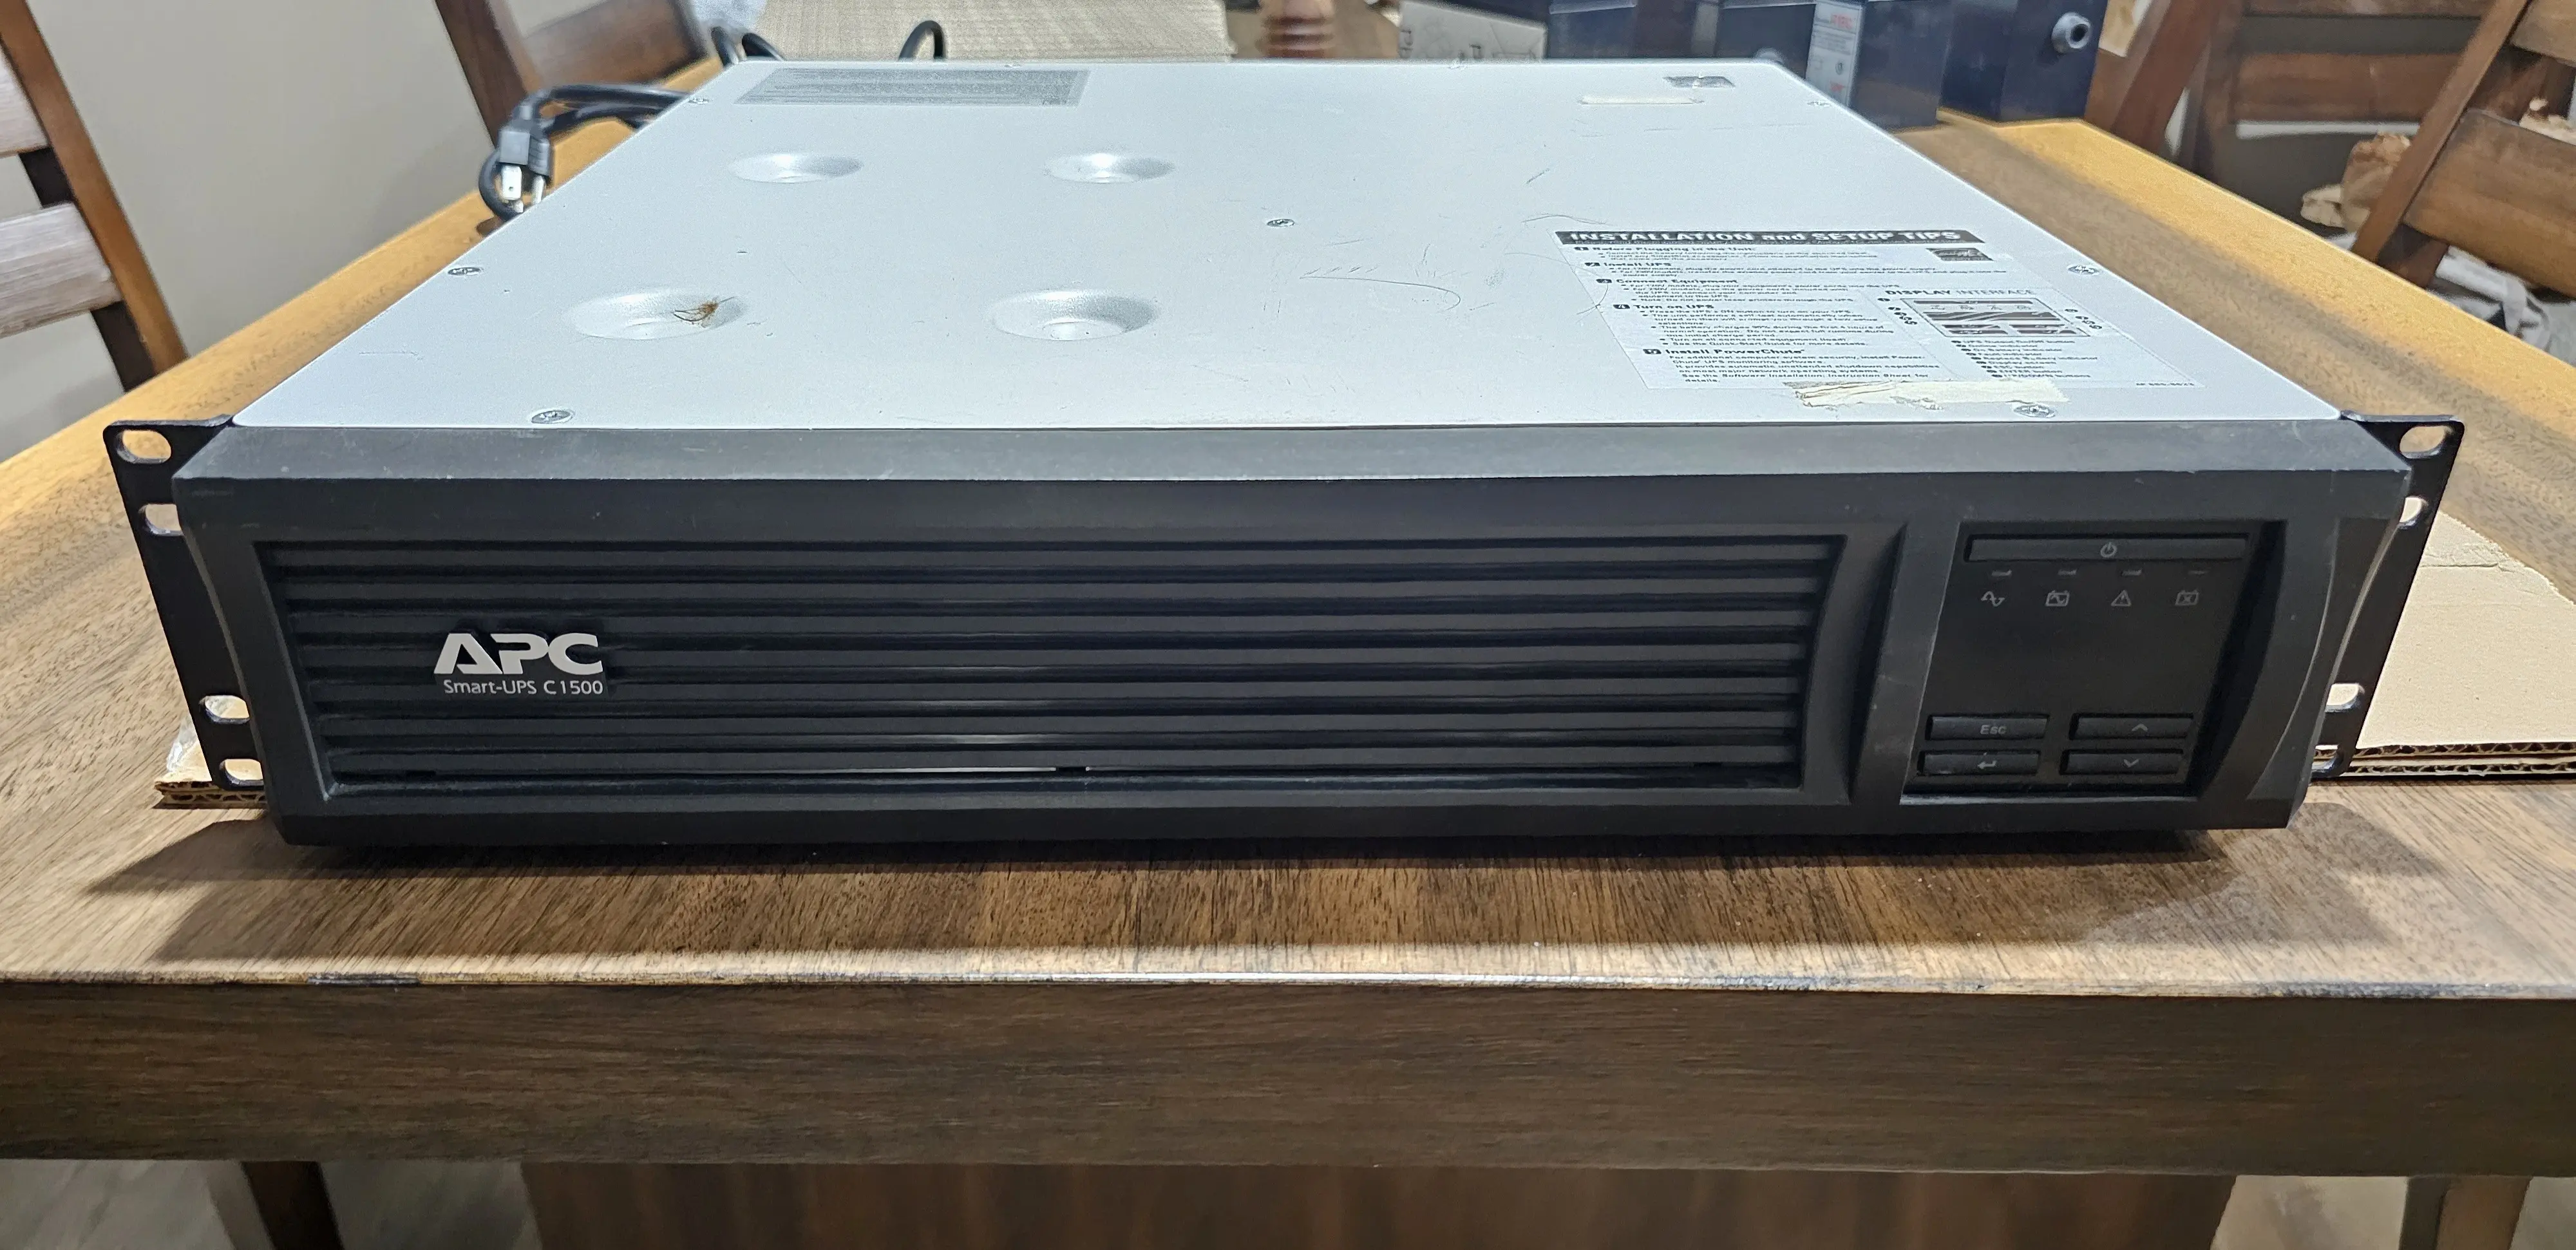
To my delight (and frankyl, disbelief) I found a path to getting a enterprise grade UPS for a fraction of the price. It all started when I found a APC SMT1500RM2 on Facebook Marketplace for $50. It was in need of some refurbishing, but I was excited to see what I could do with it.
Primer on the UPS
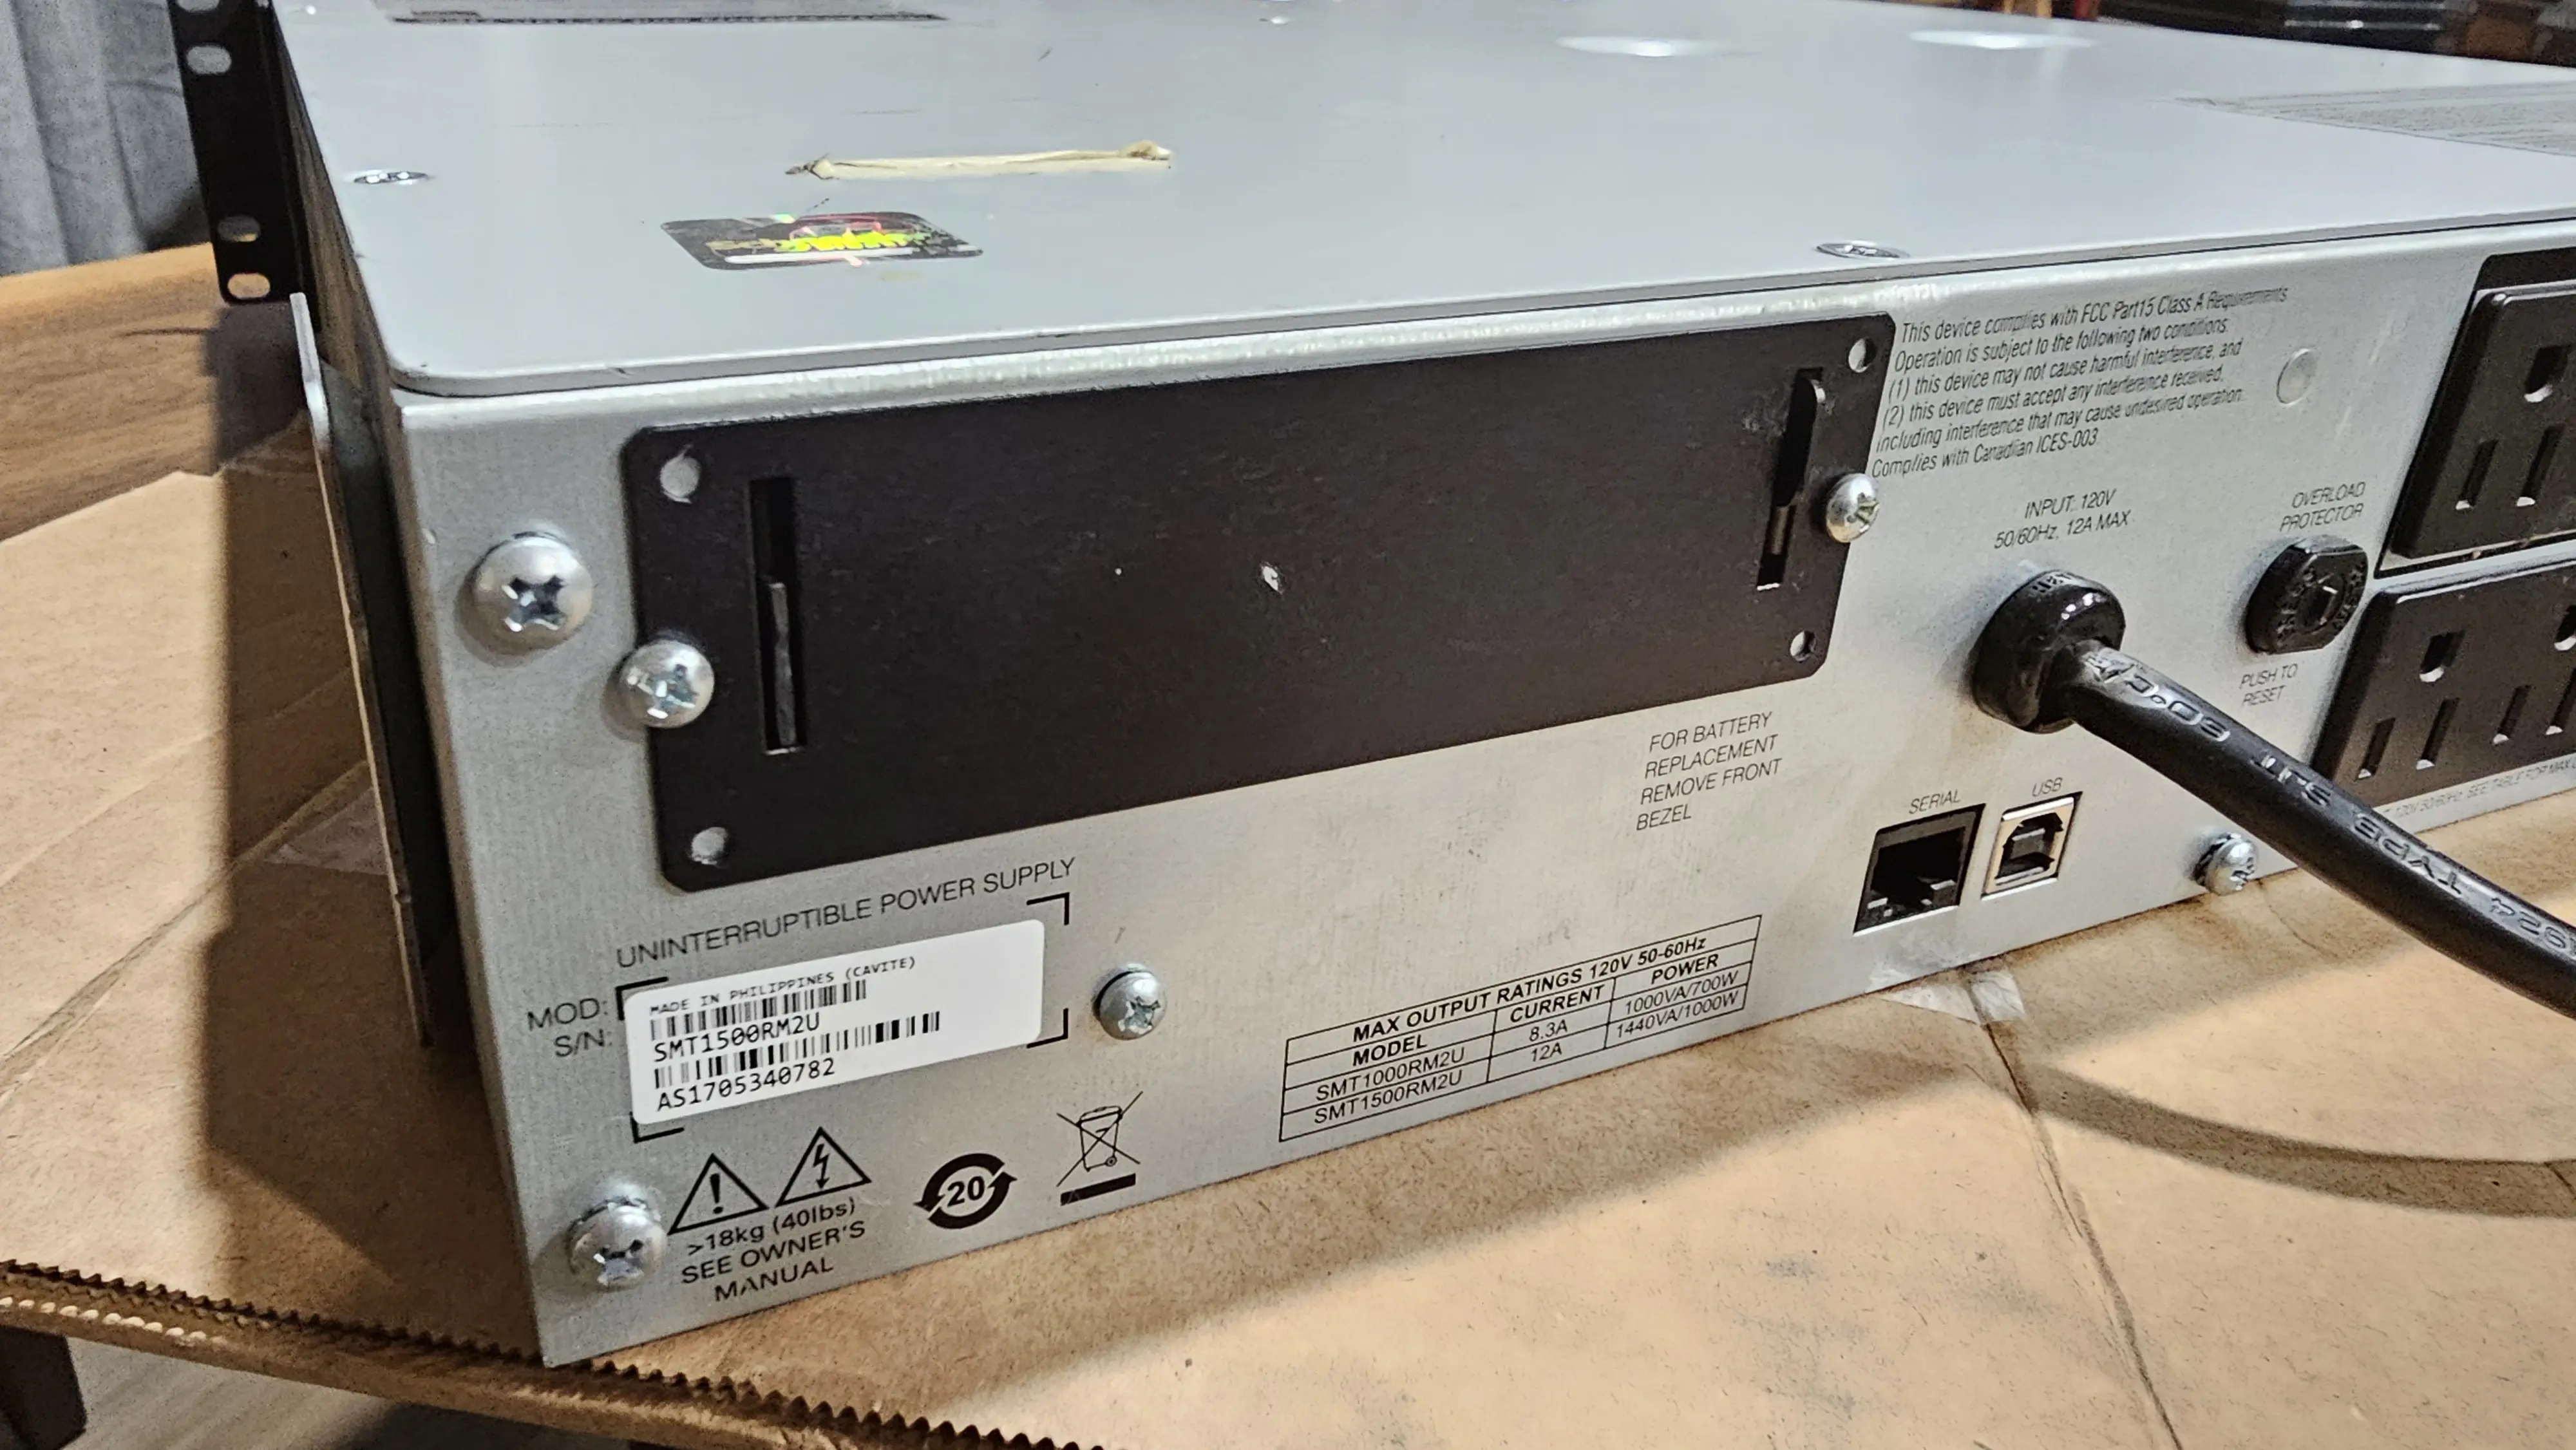
So, you might be thinking, “Alright, Mr. Electronics Hoarder, you found a heavy box for fifty bucks. What’s the big deal?” And that is where the magic of “enterprise grade” comes in. Before I even dared to plug this beast in, let’s talk about why this specific model, the APC SMT1500RM2U, had me doing a little happy dance once I got it in my car.
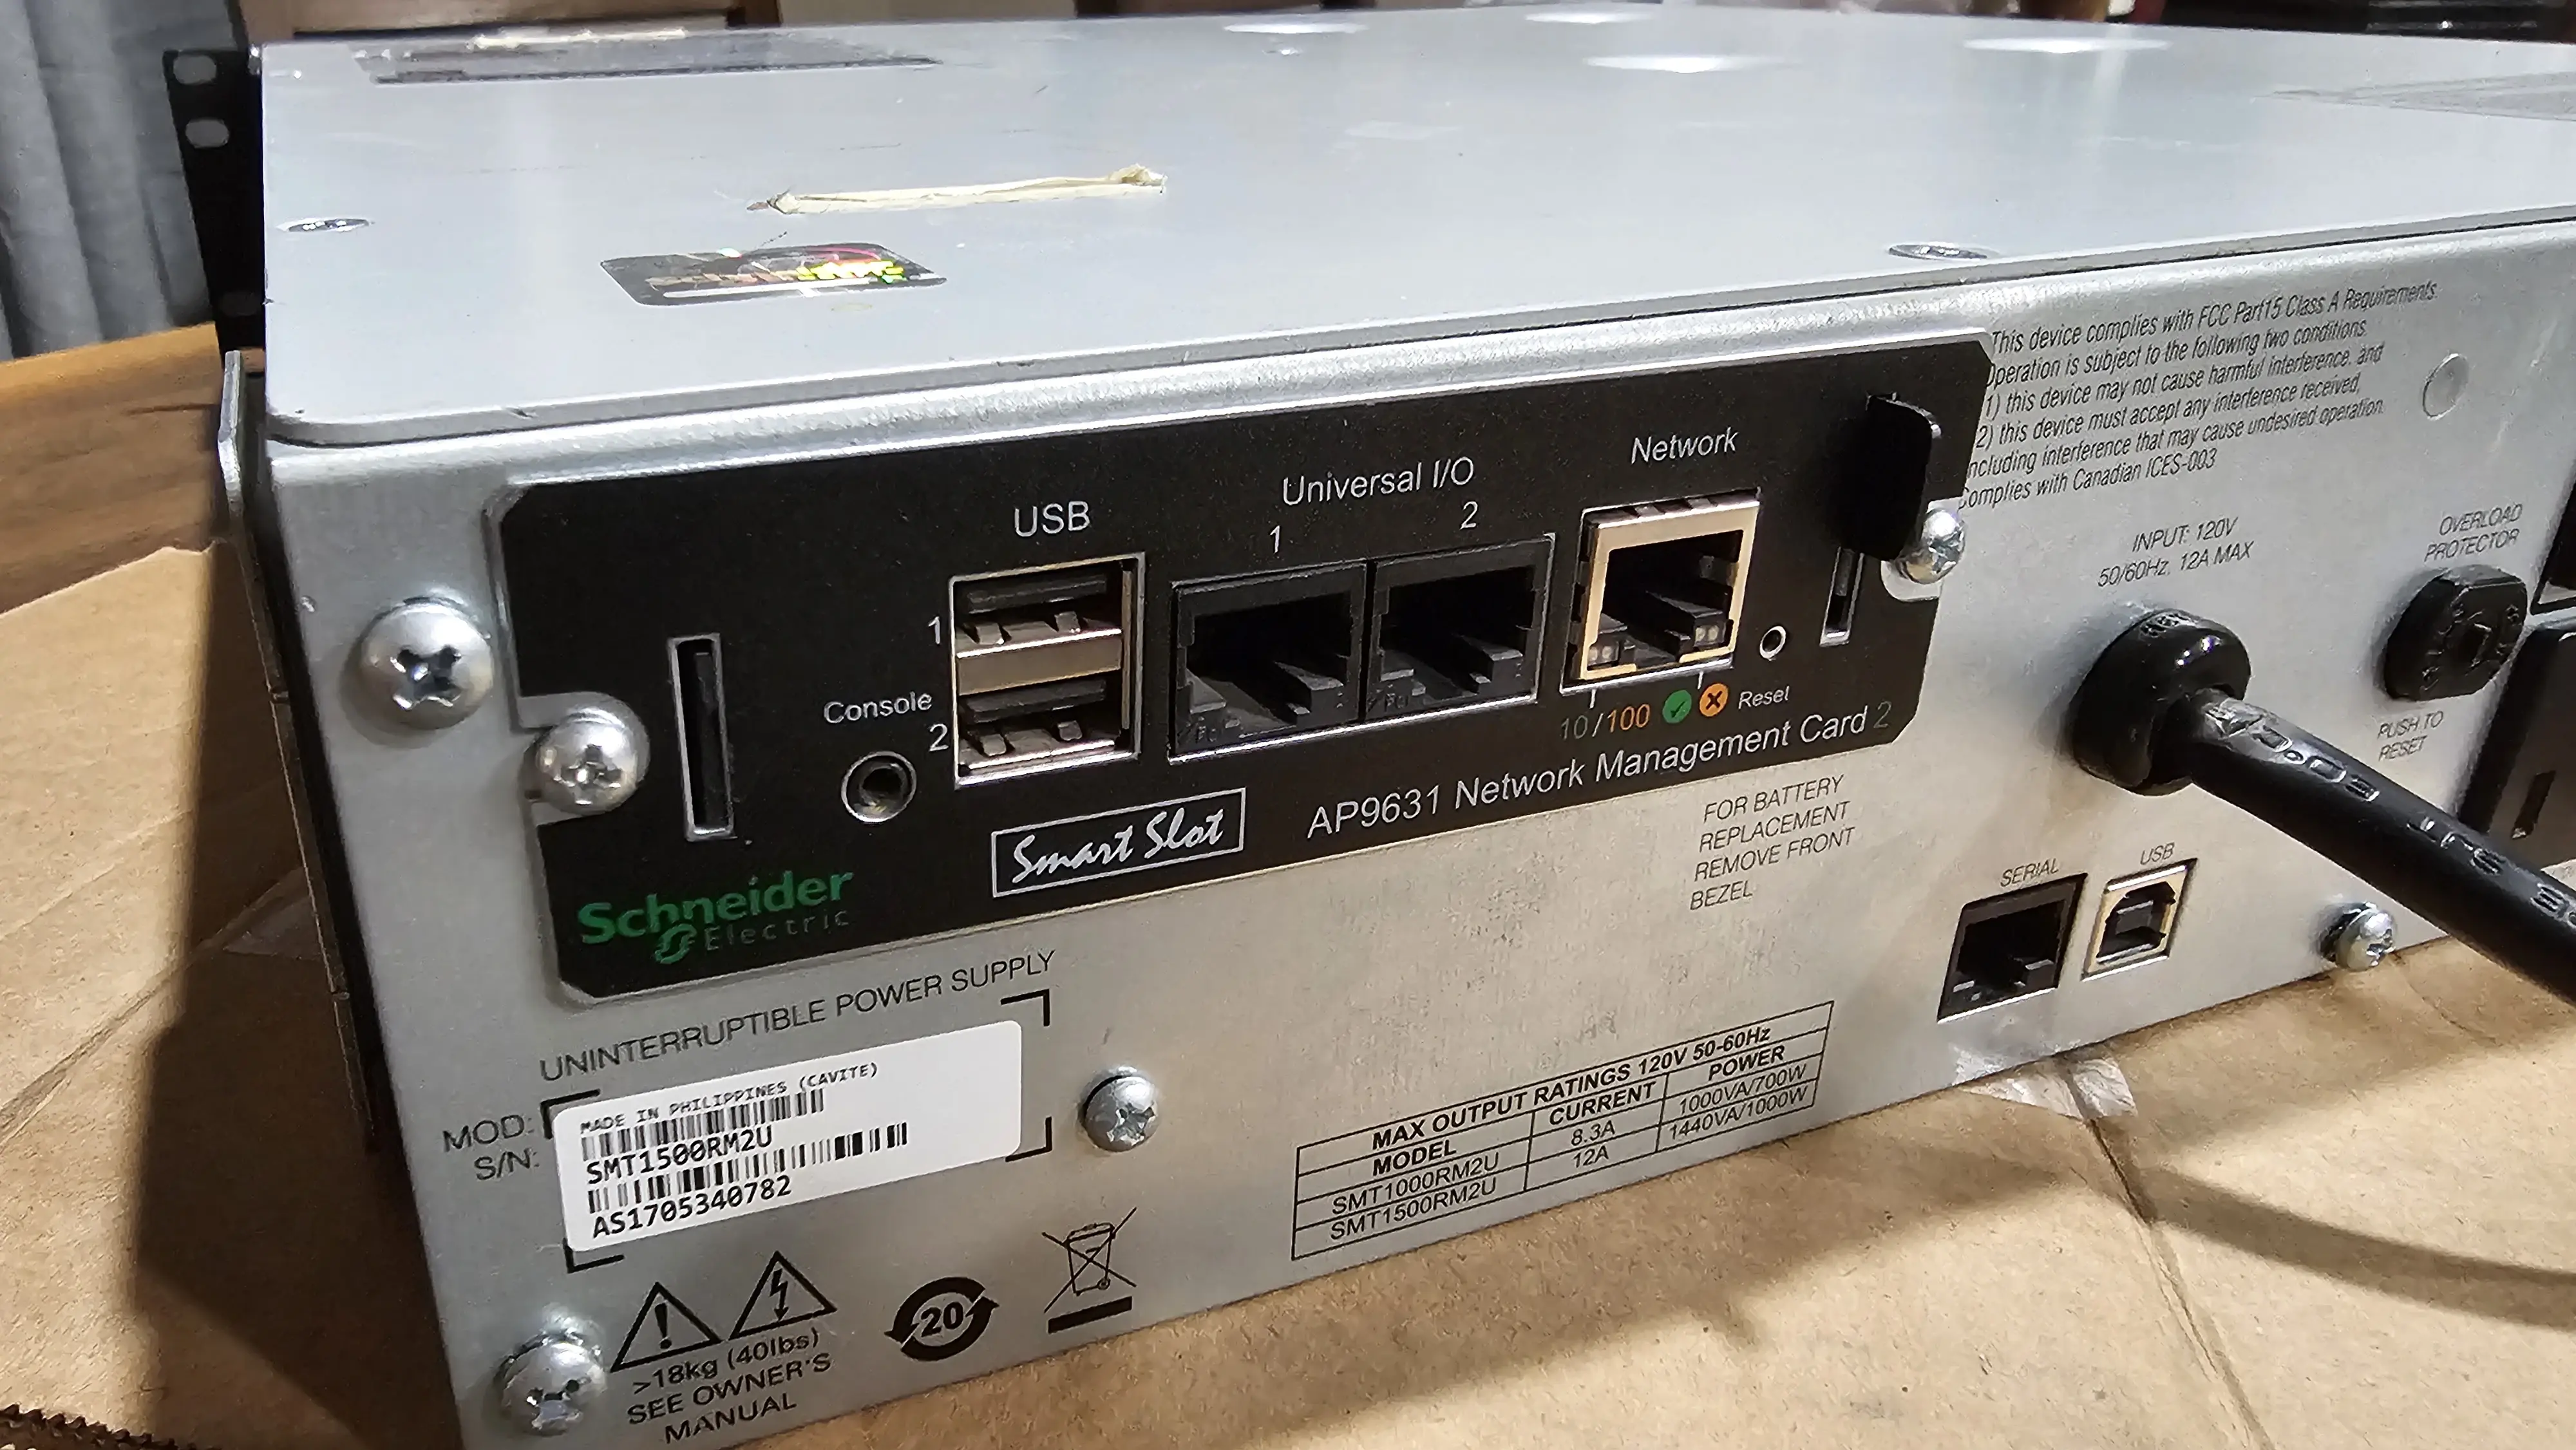
This unit is designed to live in the big leagues. The output rating is 1440 VA, 1000W, and it can run for 7 minutes at max load. Or, for a more relatable example, it can run a fridge for about 2 hours. Plenty of time to have power restored or my devices powered down gracefully.
Beyond just the runtime, there are a couple of other key features that make this a significant step up from basic consumer UPSes.
First, it provides Pure Sine Wave output when on battery. A lot of cheaper UPS units output a “simulated” or “stepped” sine wave. For robust electronics like power supplies in computers and servers, that’s often fine. But for more sensitive audio equipment, or even some power adapters, that rougher power can cause buzzing, instability, or even damage over time. A pure sine wave output is much cleaner, mimicking the power you get from the utility company, which is ideal for the mixed bag of equipment I like to run.
Second, it has Automatic Voltage Regulation (AVR). This is a big one. It means the UPS can correct for minor sags (brownouts) or swells in the incoming utility power without switching over to battery. This not only saves the battery for actual outages but also provides cleaner, more stable power to my connected devices day-in and day-out. Considering the cost of the equipment it’s protecting, having this feature adds a lot to that “peace of mind” I mentioned earlier.
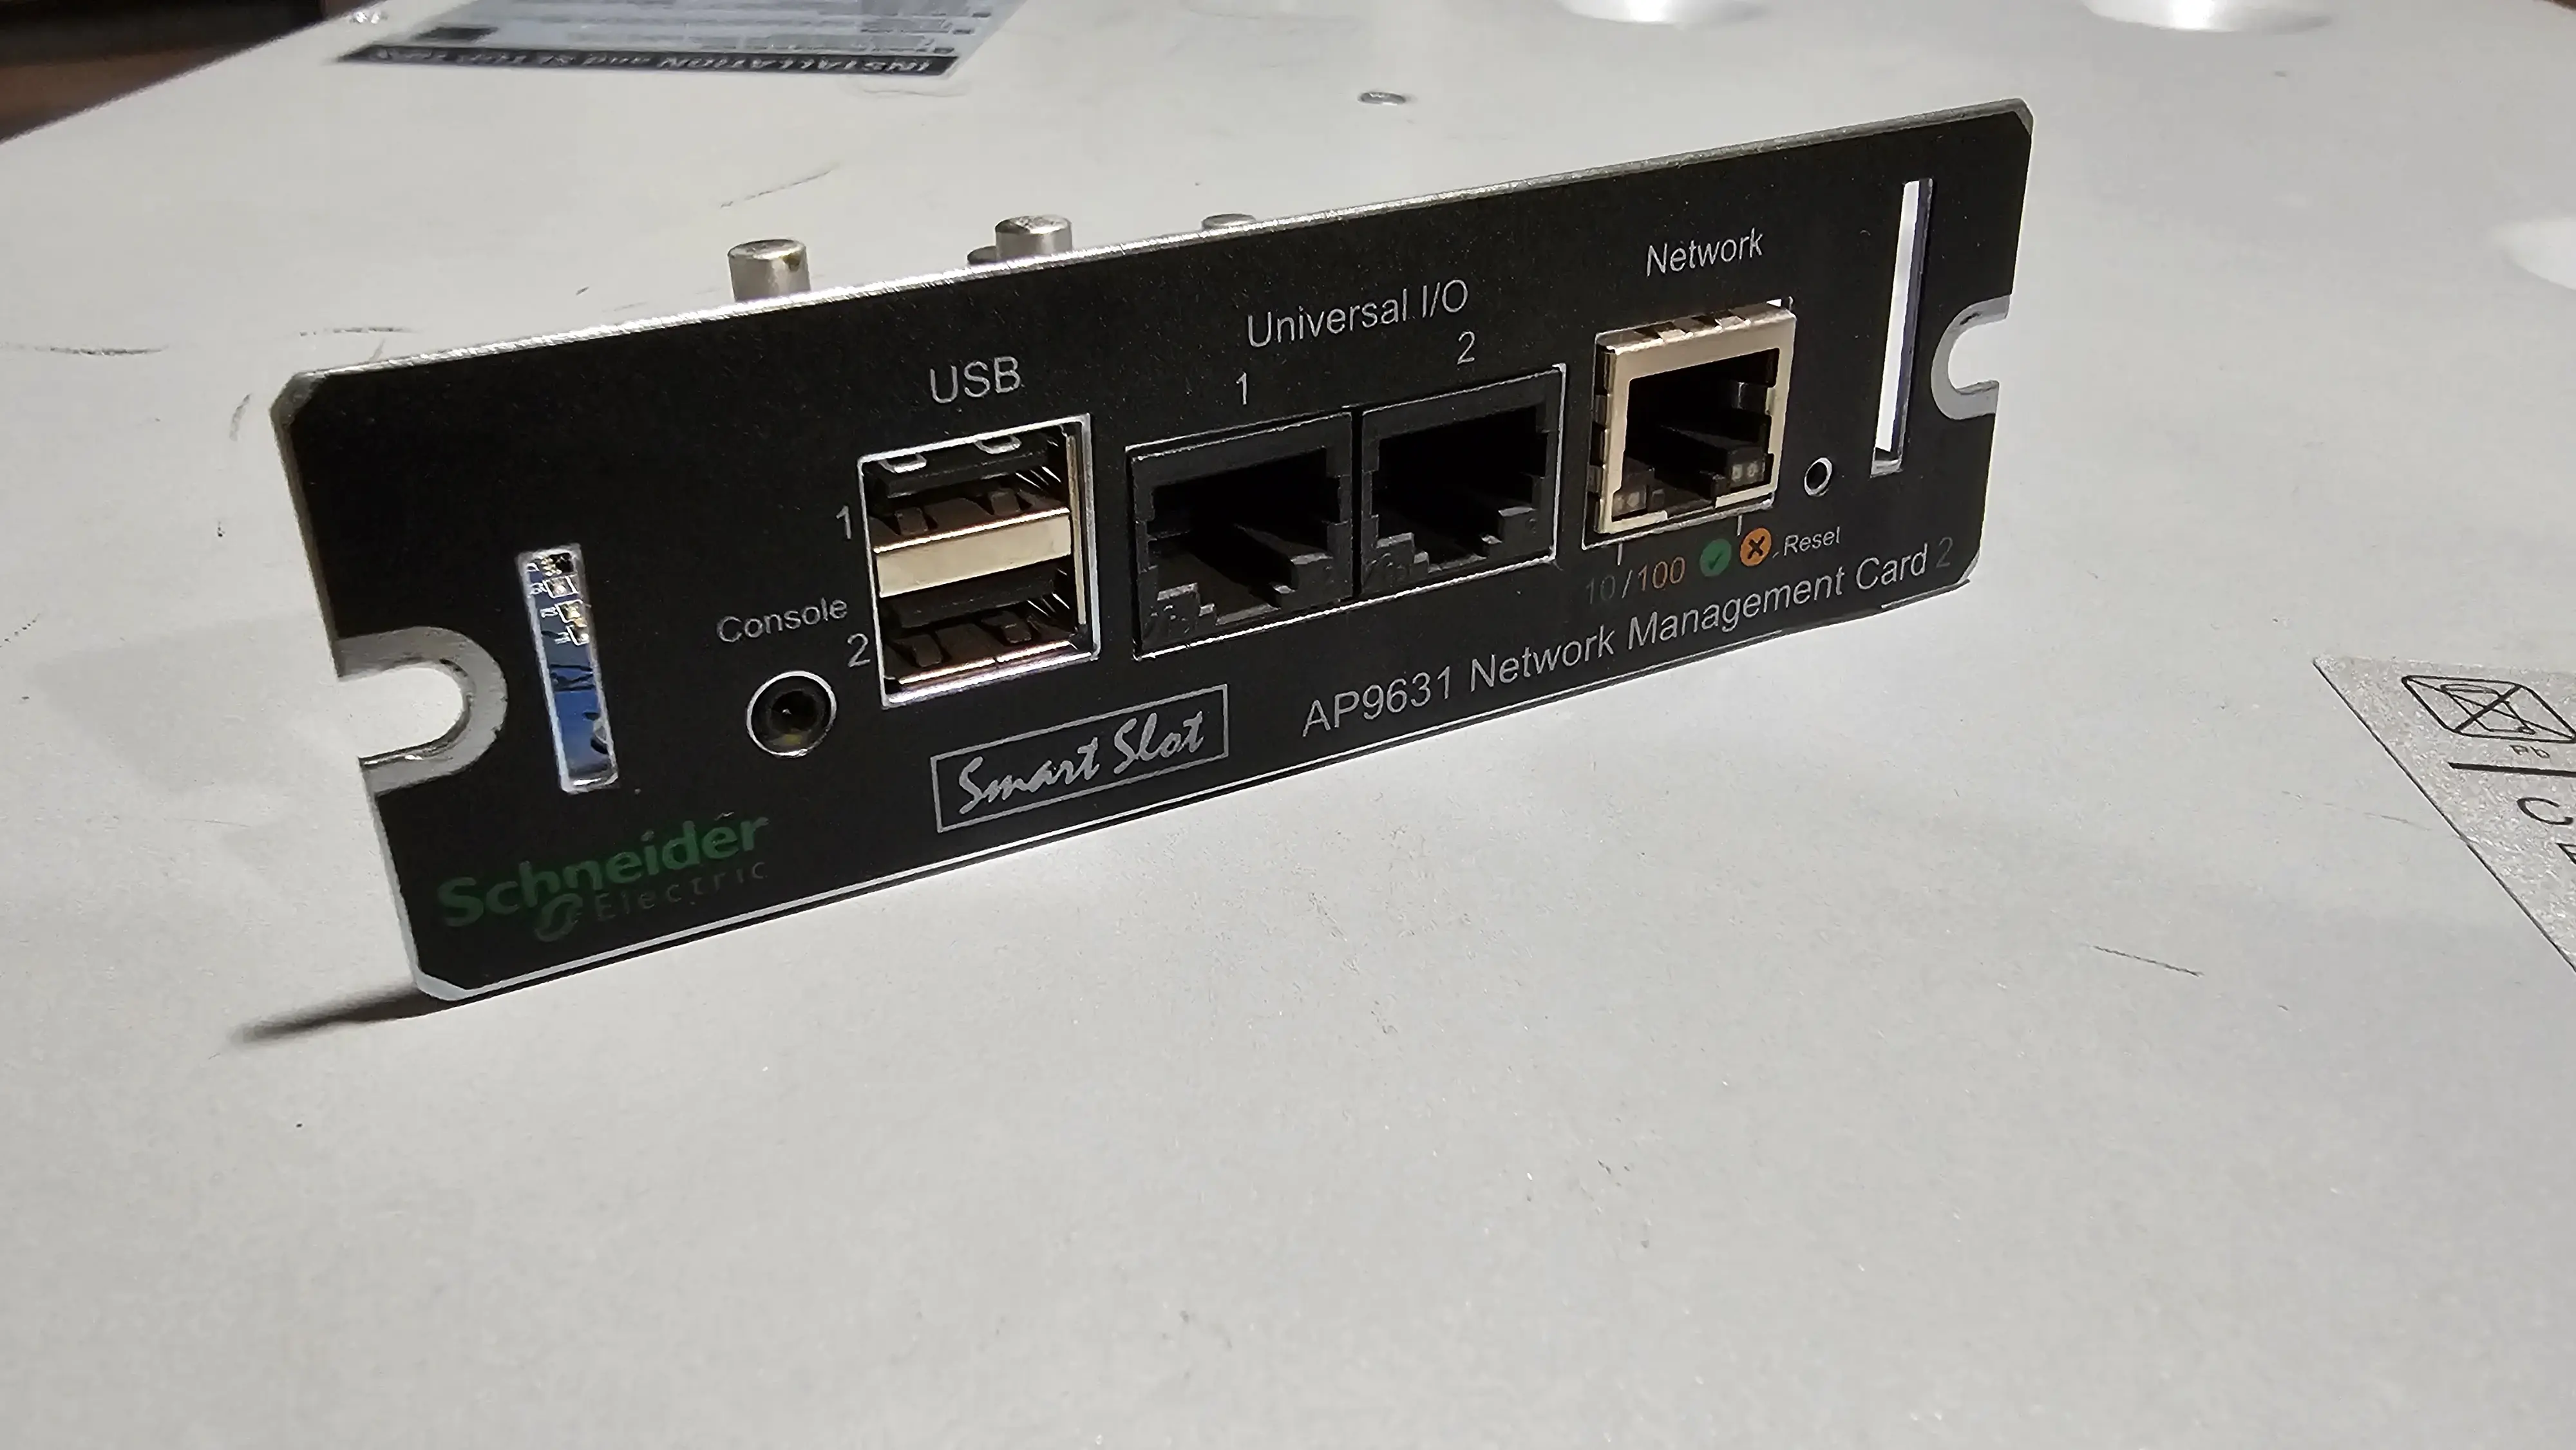
Many enterprise units like this also feature a SmartSlot, which allows for a network management card. This would let me monitor the UPS status remotely and even configure automatic shutdowns for connected servers if the power is out for an extended period. While I don’t have a card for it yet, the capability itself is a nice bonus.
Now, onto the actual refurbishing journey to see if this gamble would pay off…
What does it need?
For me to consider this a fully functional unit, I needed a few things.
- A new battery pack, as all the batteries were 8 years old.
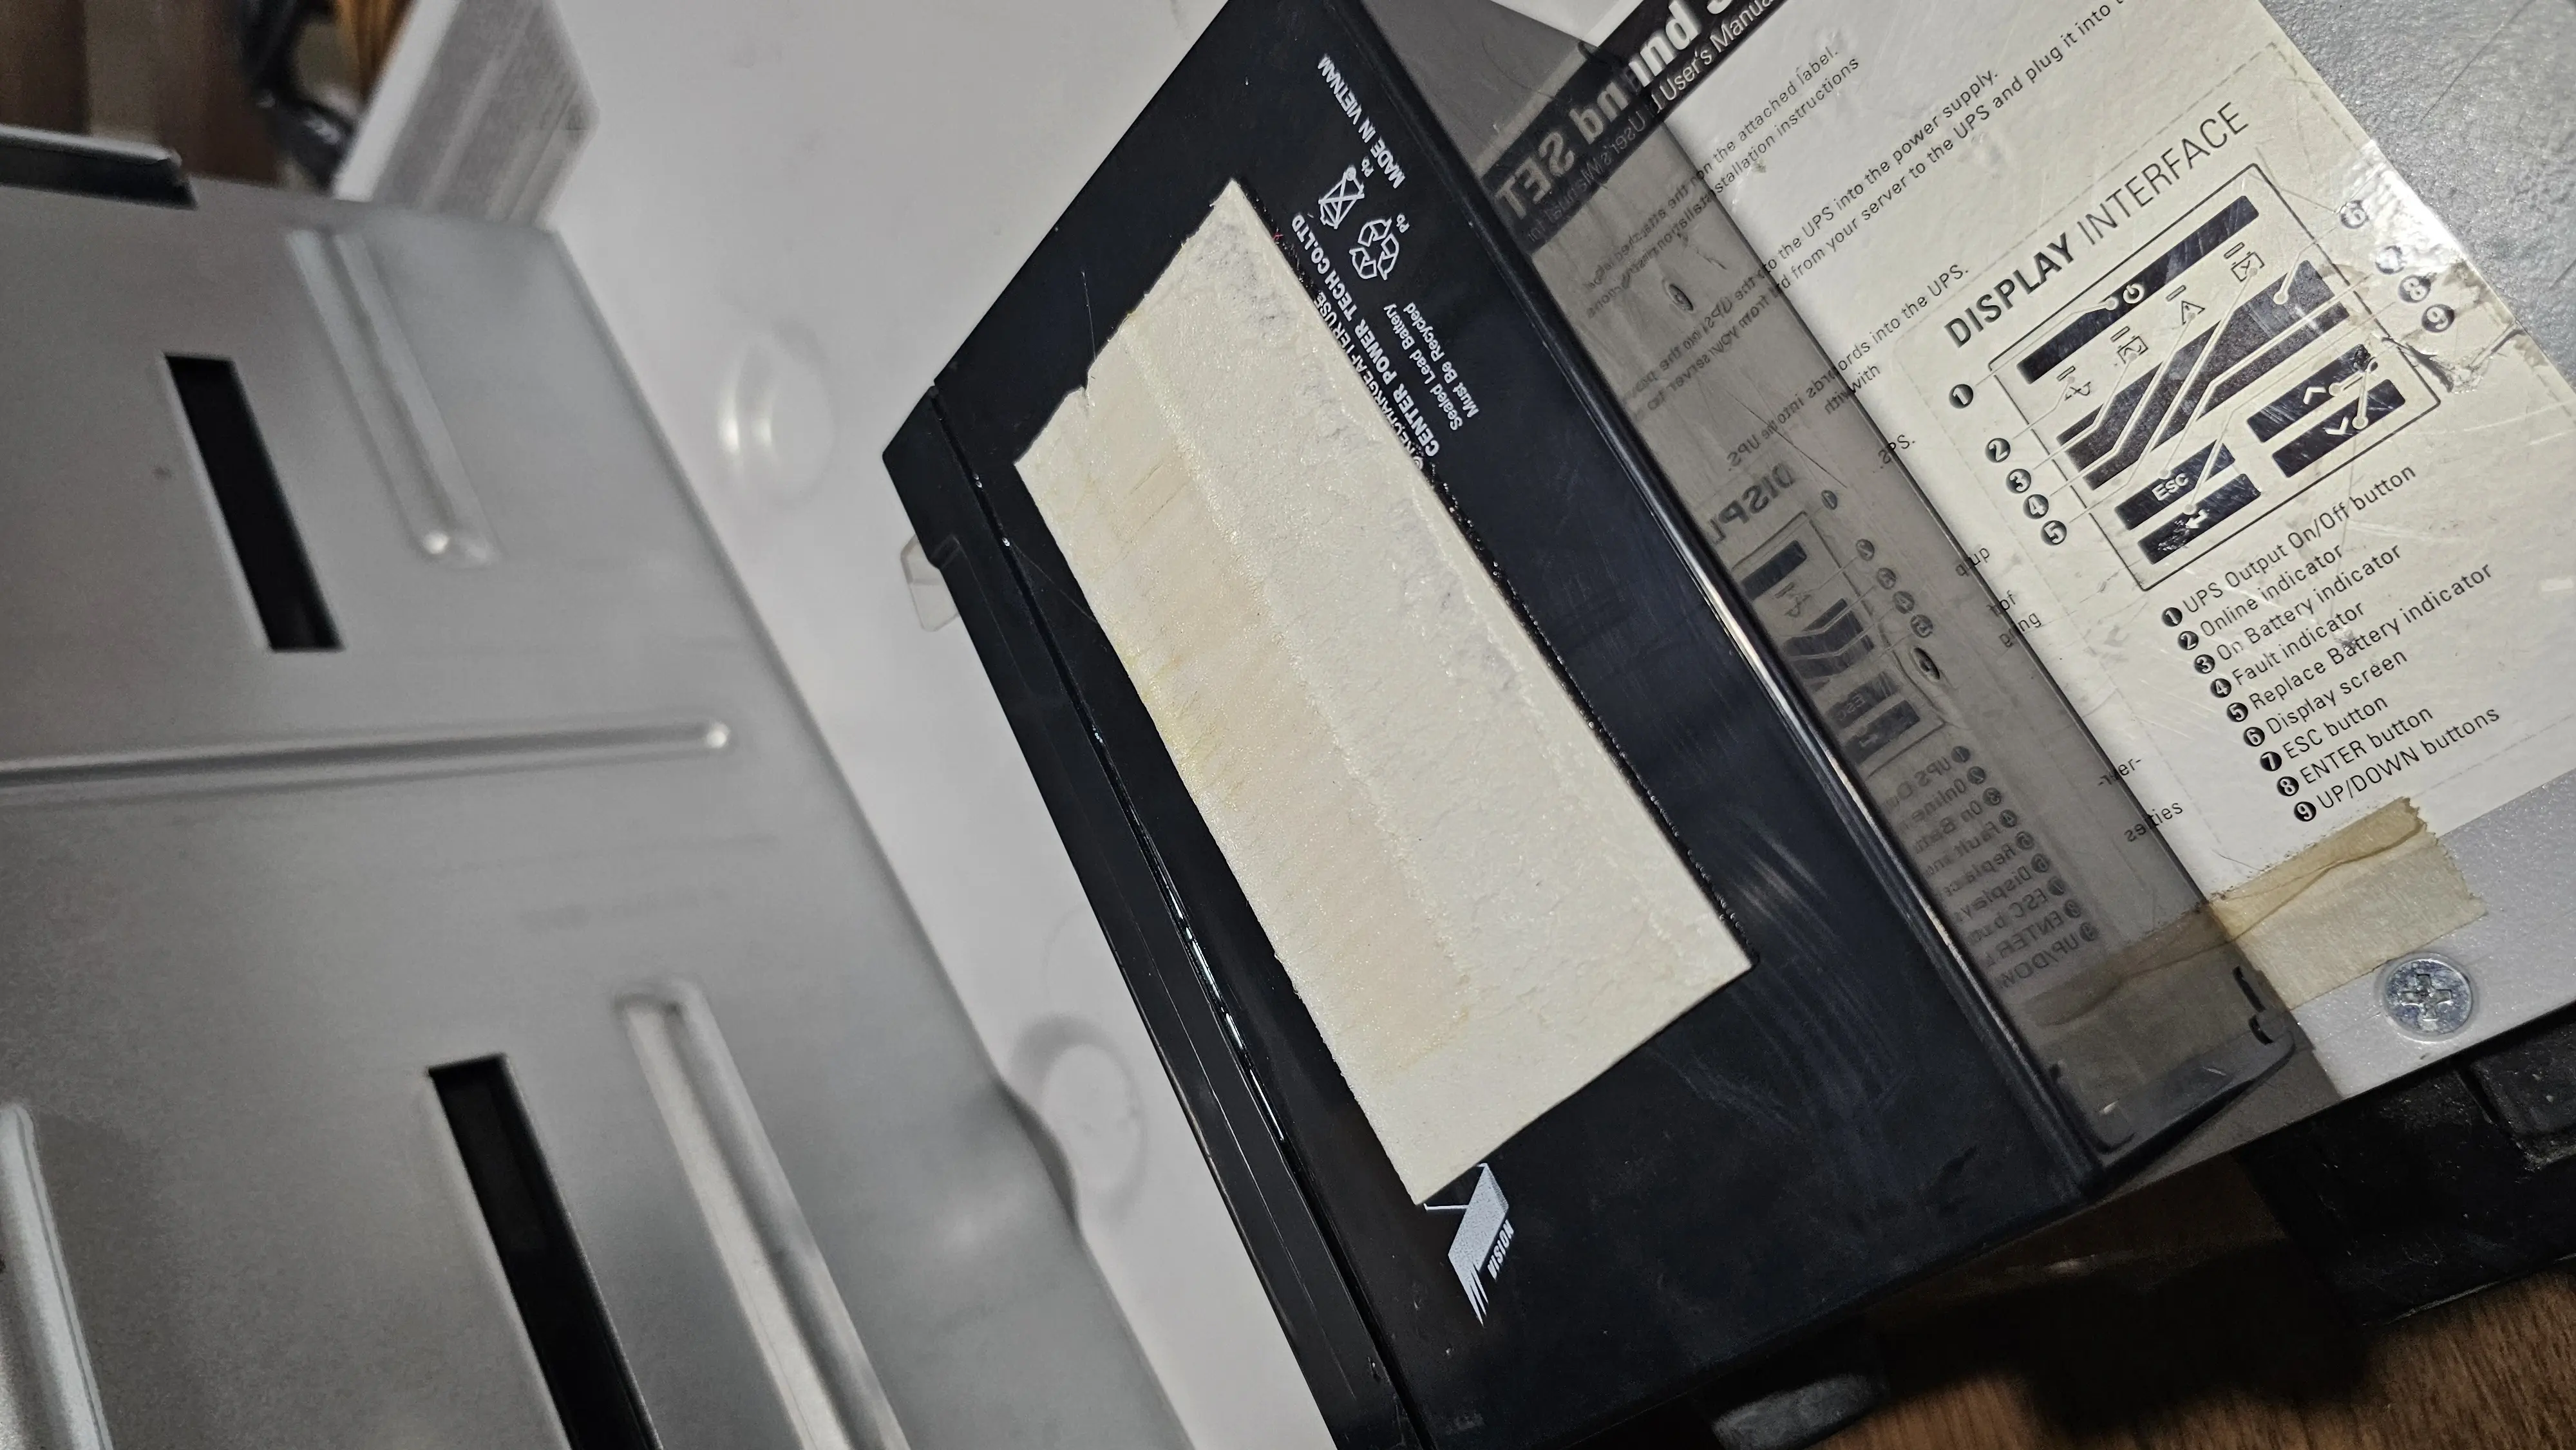
- A faceplate, as the original was missing.
- Rack mount rails, as the originals were missing.
- A network management card, as the original did not include one.
Components
| Item | Quantity | Price | Extended Cost |
|---|---|---|---|
| APC SMT1500RM2 | 1 | $50.00 | $50.00 |
| CSB HR1234W F2 12V 9Ah AGM Battery | 4 | $32.60 | $130.40 |
| APC Smart-UPS C1500 Front Bezel Faceplate 876-0017 | 1 | $24.99 | $24.99 |
| APC Smart-UPS 4-Post Rackmount Rail Kit 0M-756H SU032A | 1 | $10.00 | $10.00 |
| APC AP9631 Network Management Card 2 w/ Environmental Monitoring | 1 | $19.98 | $19.98 |
| Total | $226.39 |
I found all of the components I needed on Ebay, with the exception of the batteries. I managed to get everything for $226.39, which is a steal for this unit. Typically, this model costs $625 new. While researching I even found units going for as high as $1330.
With all of the components in hand, I was ready to begin the refurbishing process.
Refurbishing and Assembly Process
Welcome to the hands-on part of this adventure! Below, I’ll walk you through the steps I took to bring this APC SMT1500RM2U back from the brink. Remember, working with electronics, especially those involving batteries and mains voltage, requires care and attention.
Important Disclaimer:
The following steps are based on my personal experience. Undertake any electronics repair at your own risk. If you’re unsure about any step, please consult a qualified technician. Always ensure the unit is unplugged before opening or working on it.
Step 1: Safety First & Preparation
Before diving in, safety is paramount. I DID make sure the UPS was completely disconnected from any power source. It’s also a good idea to work in a well-lit area with enough space. For this project, I gathered a few essential tools:
- Phillips head screwdriver
- Compressed air
Step 2: Opening Pandora’s Box (The UPS Case)
Time to see what treasures (or horrors) lay within! For the SMT1500RM2U, opening it up involved removing the screws and taking the top off.

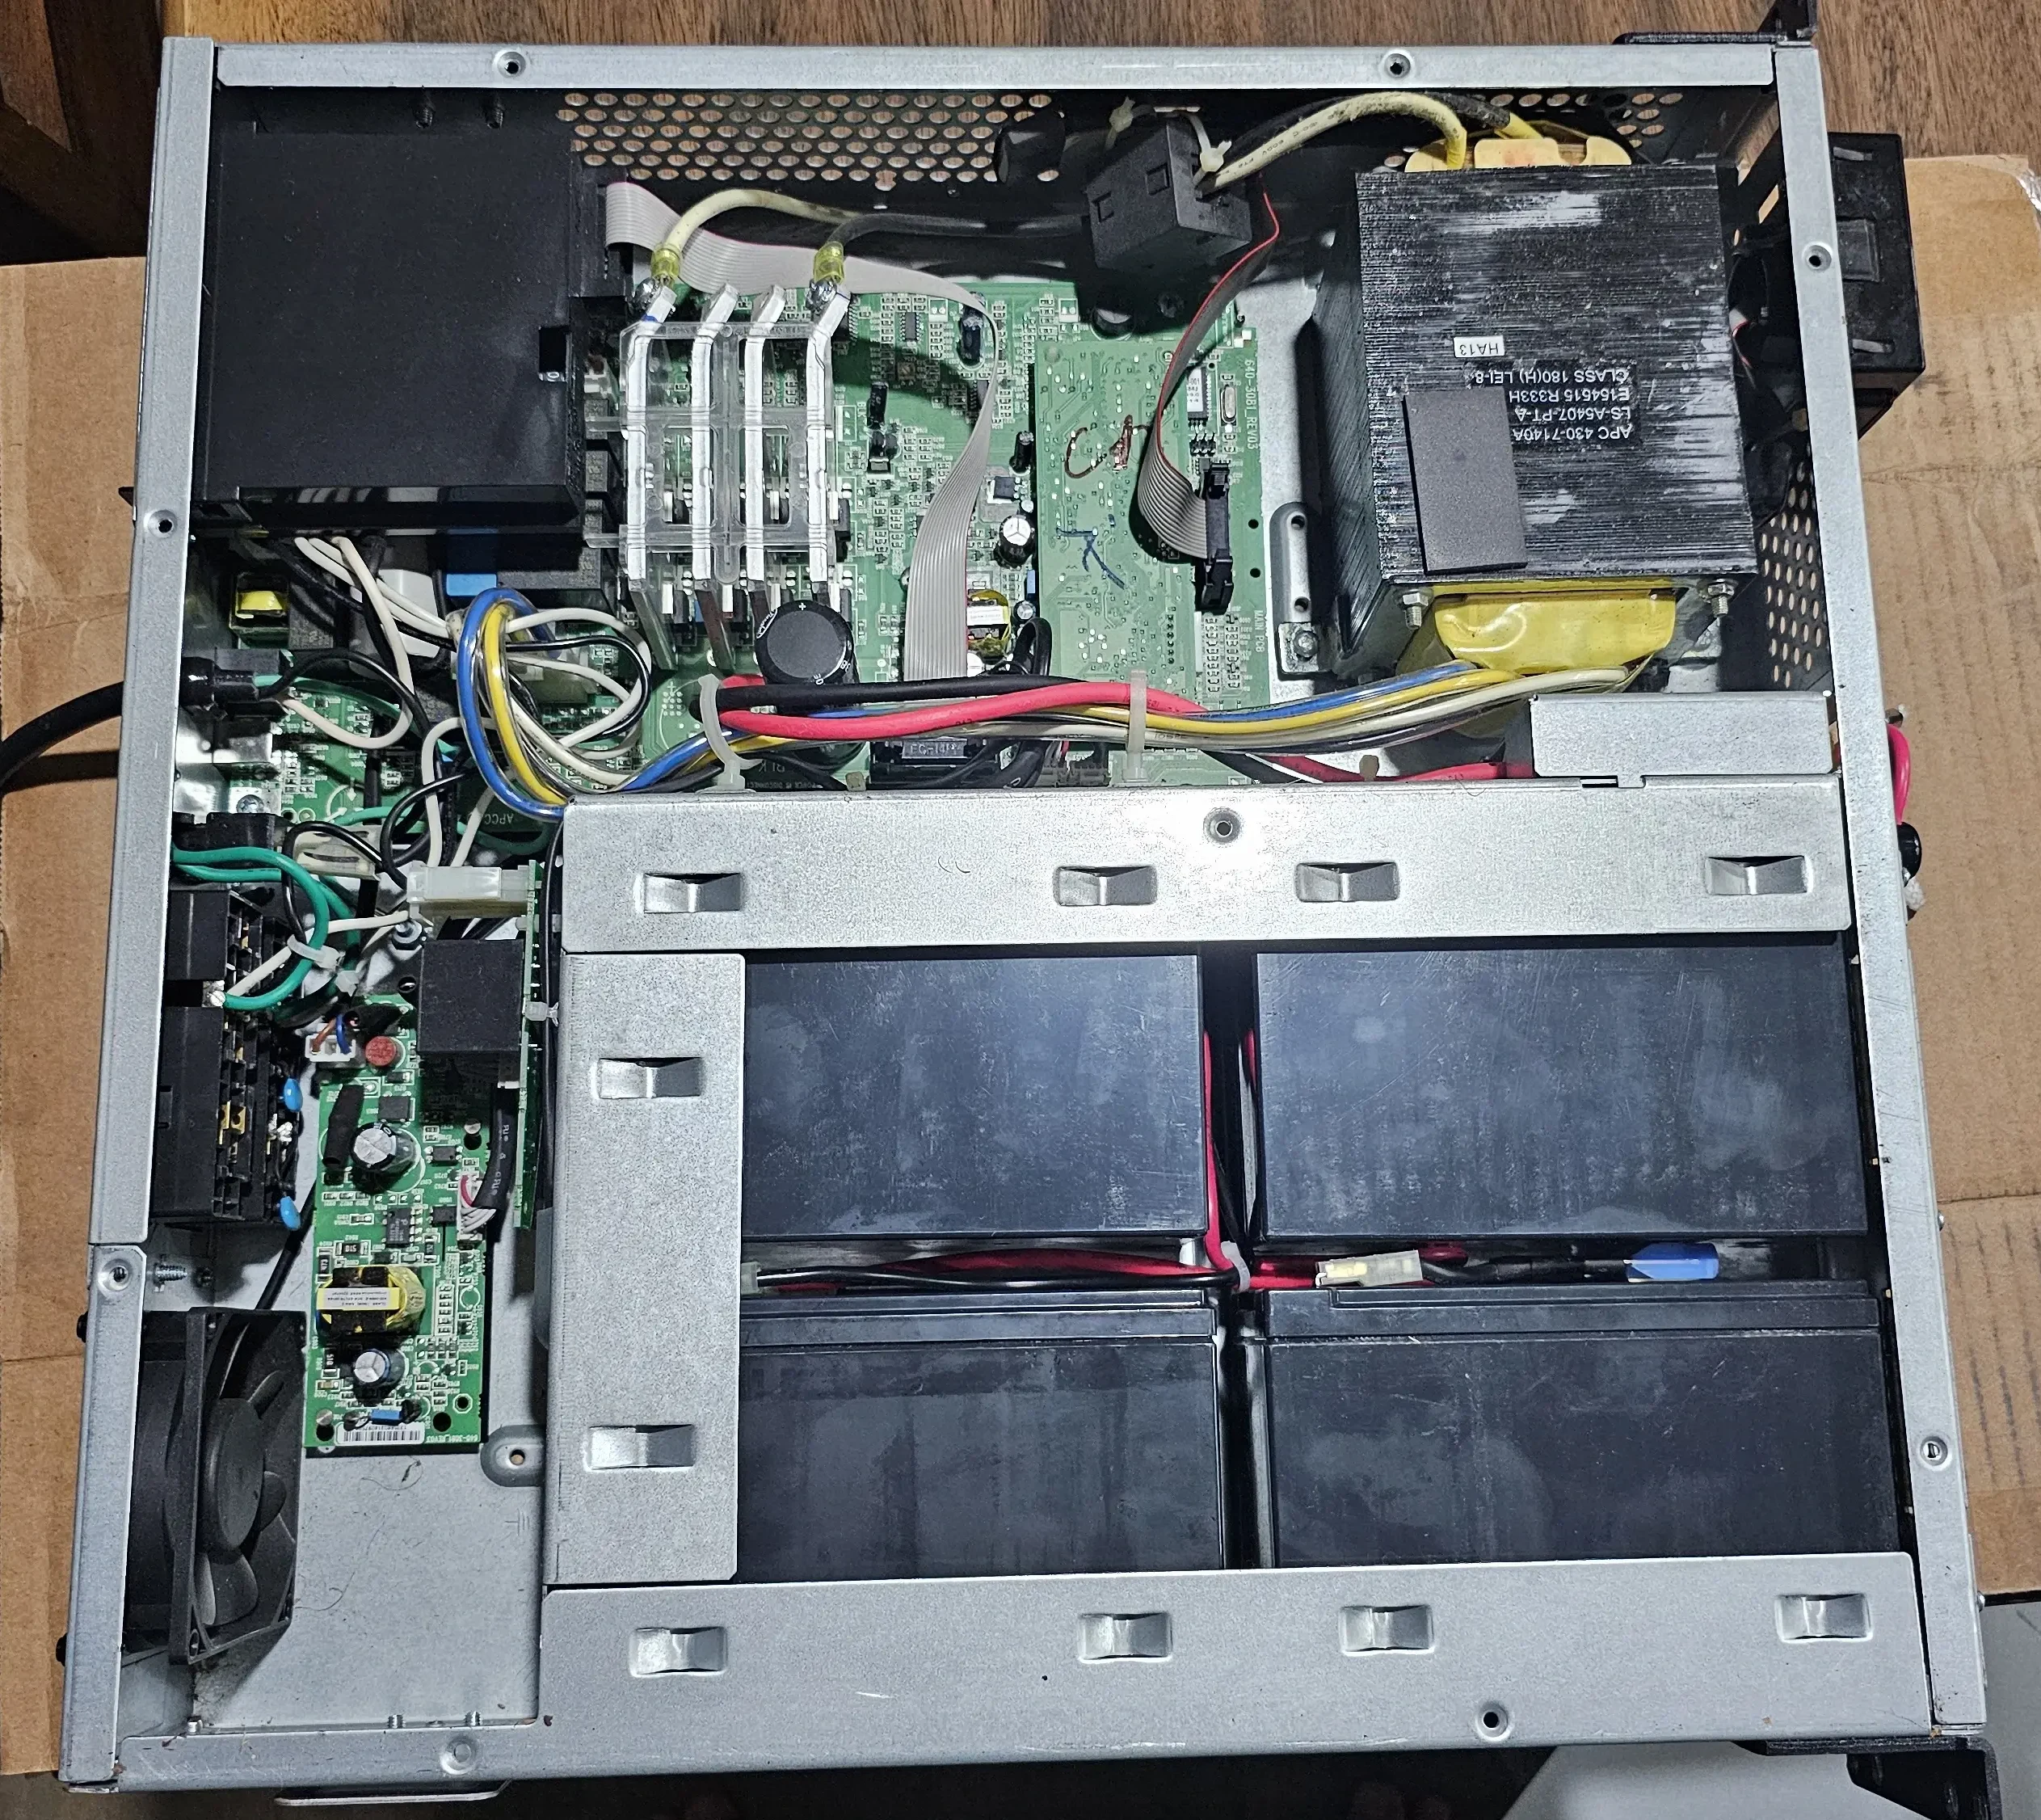
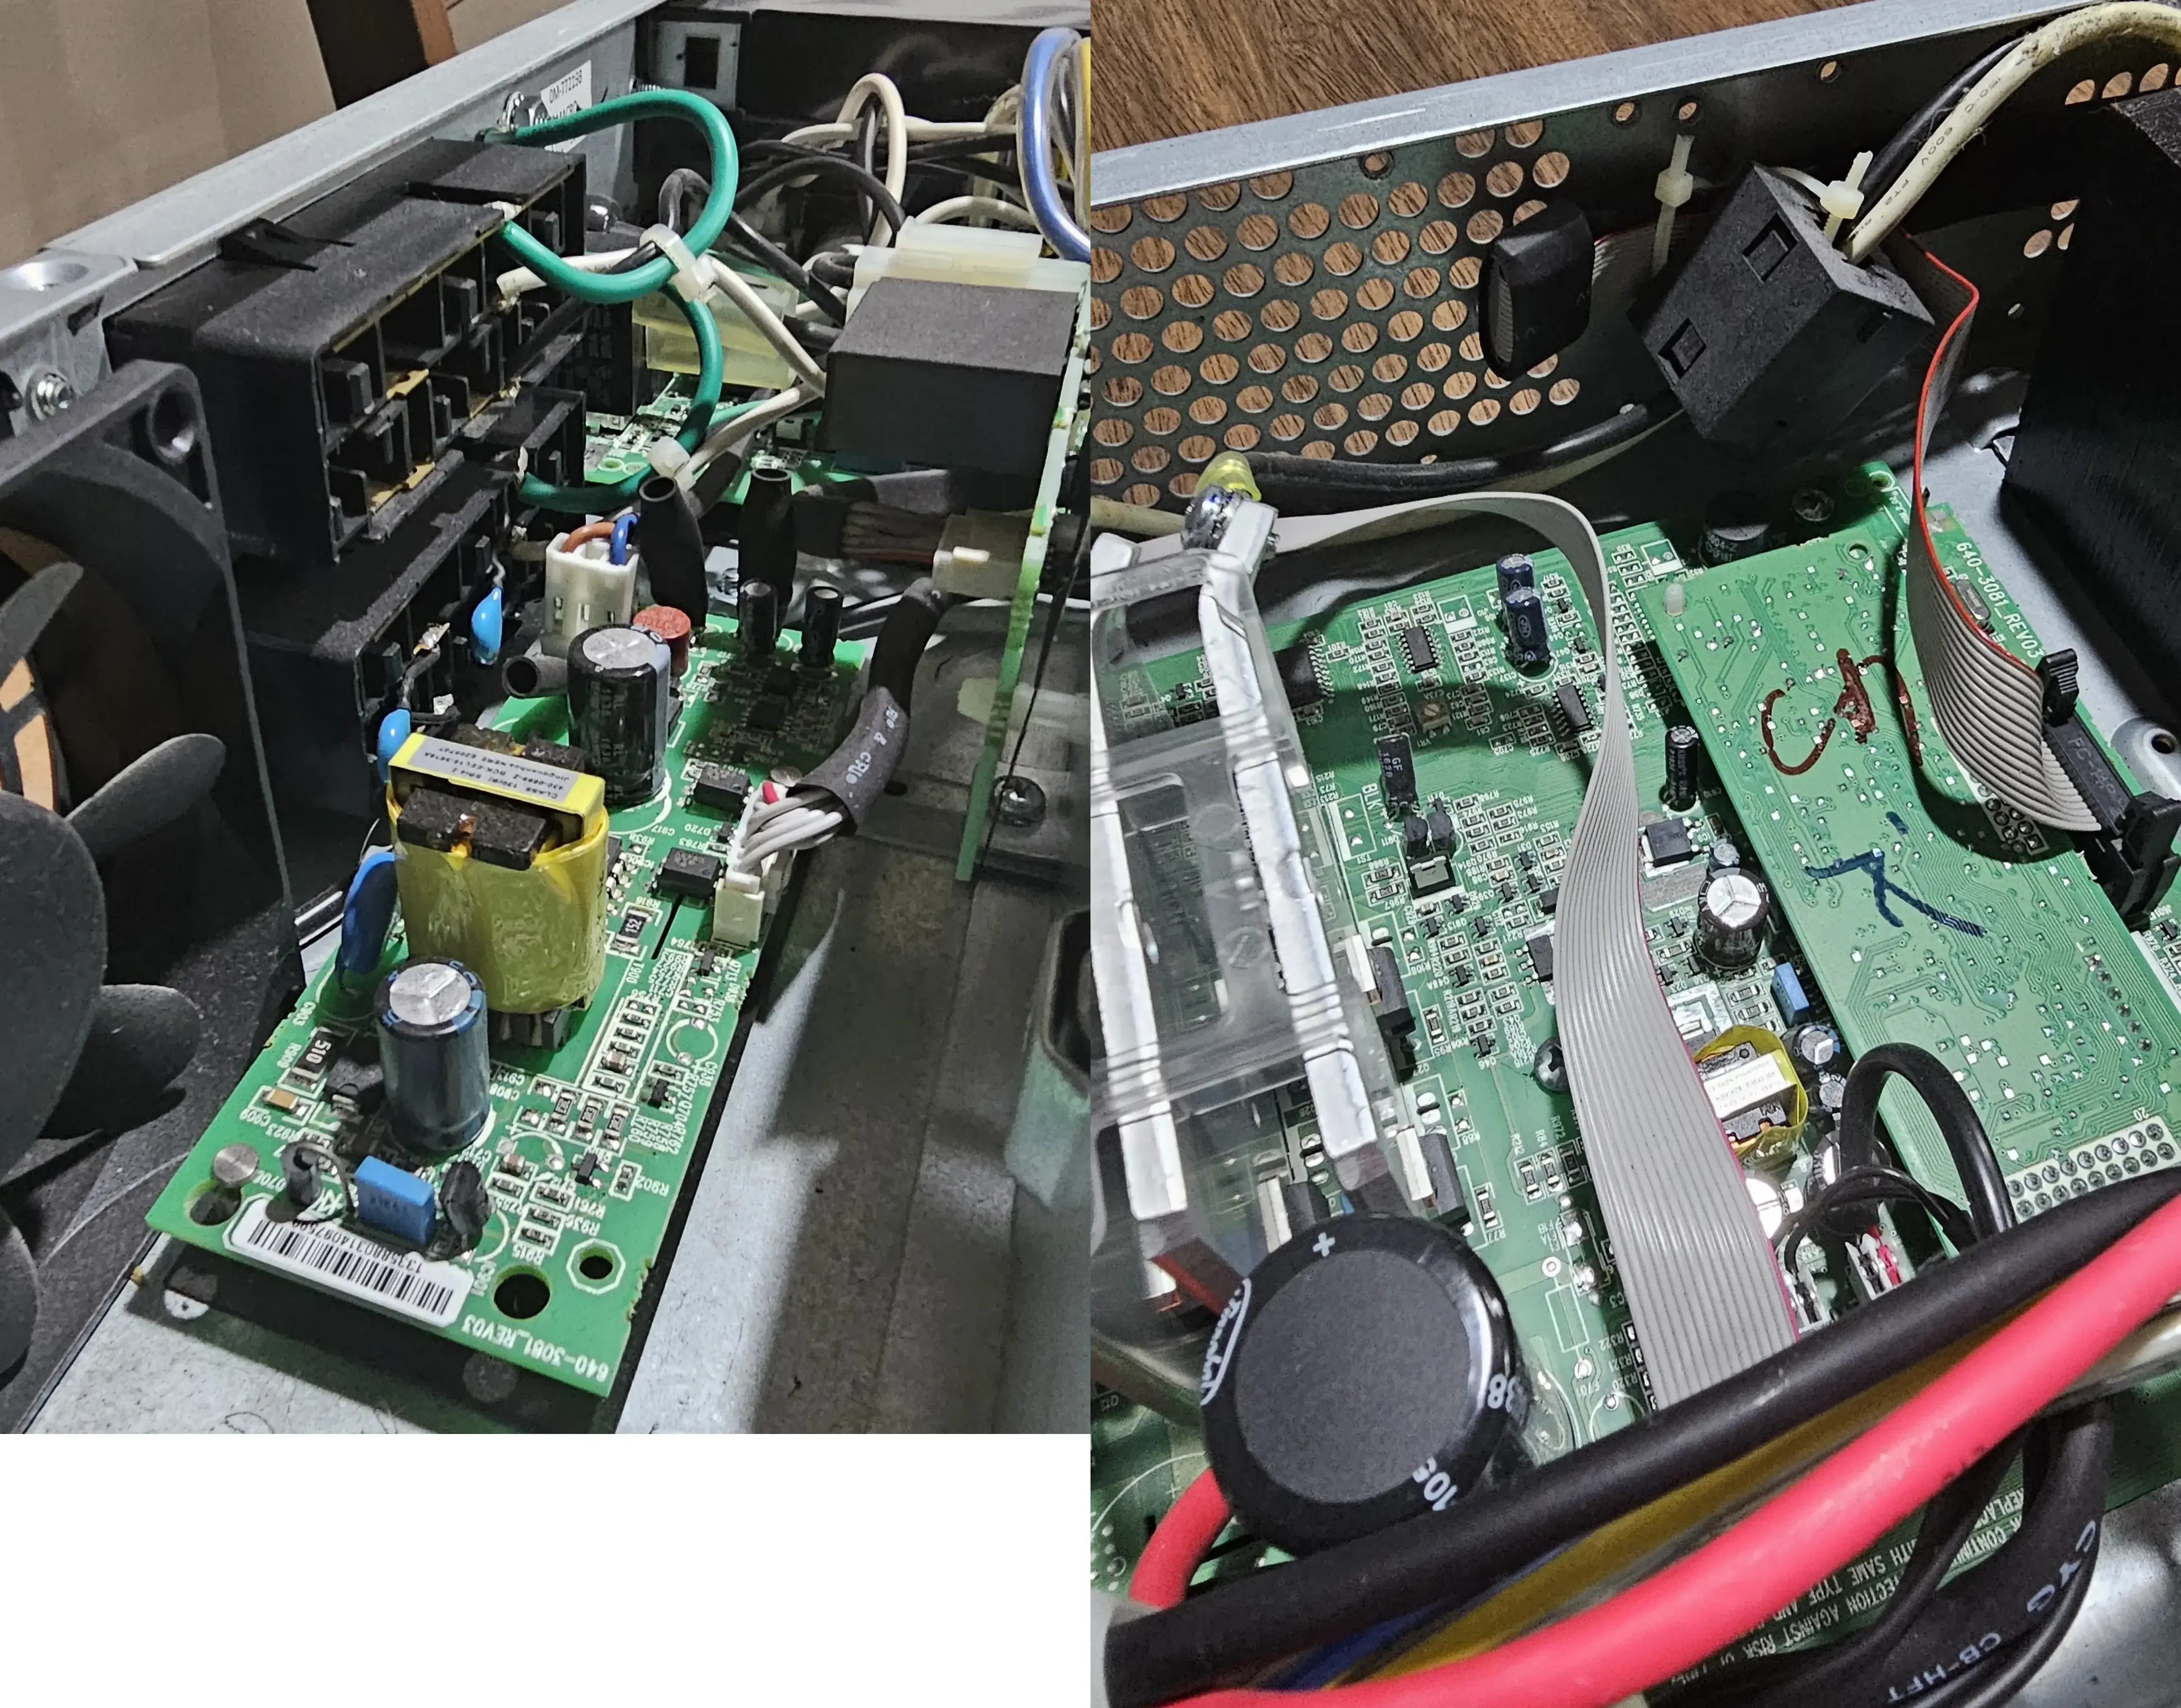
Step 3: Internal Inspection - The Good, The Bad, and The Surprisingly Not Dusty
With the cover off, I did a thorough visual inspection of the internals. My checklist included:
- Dust levels: Enterprise gear can collect a lot!
- Capacitors: Looking for any bulging, leaking, or domed tops (a common sign of failure).
- Circuit boards: Any obviously burnt components, scorch marks, or loose connections.
Everything looked great! No dust, and no signs of failure. I did blow it out with compressed air to remove any dust that might have accumulated. Only a few dog hairs were removed, but that’s not a big deal.
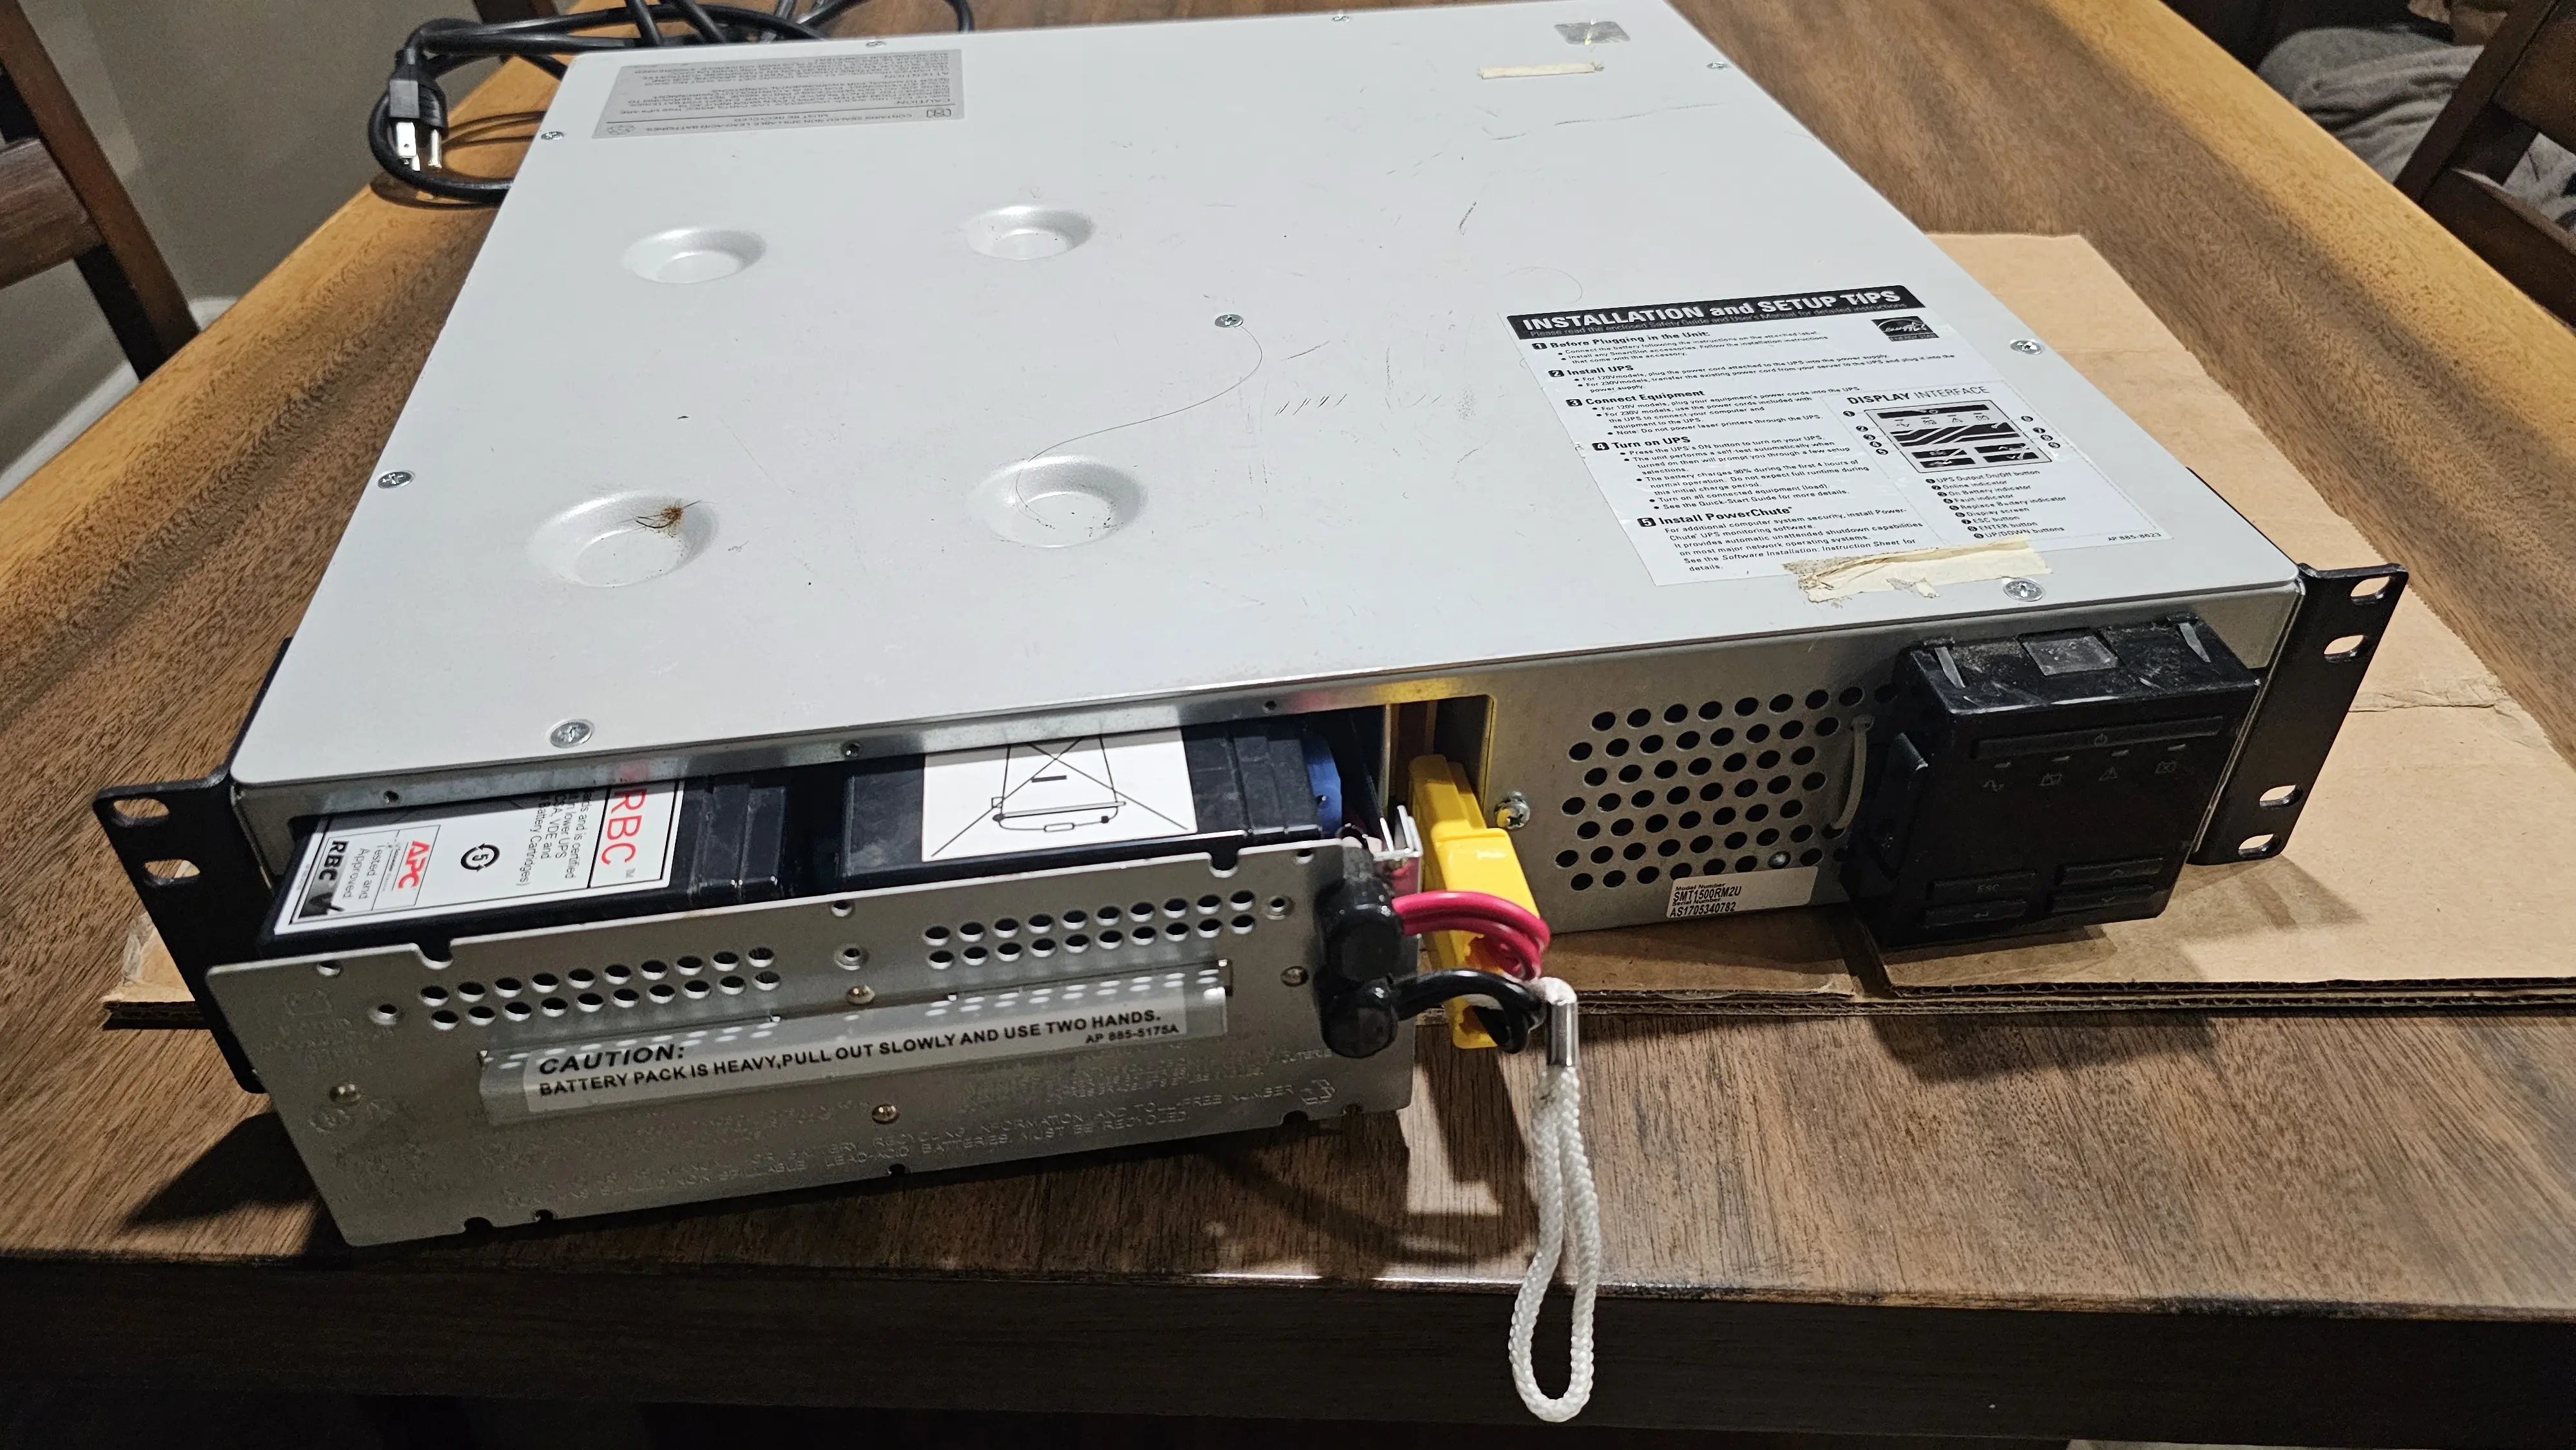
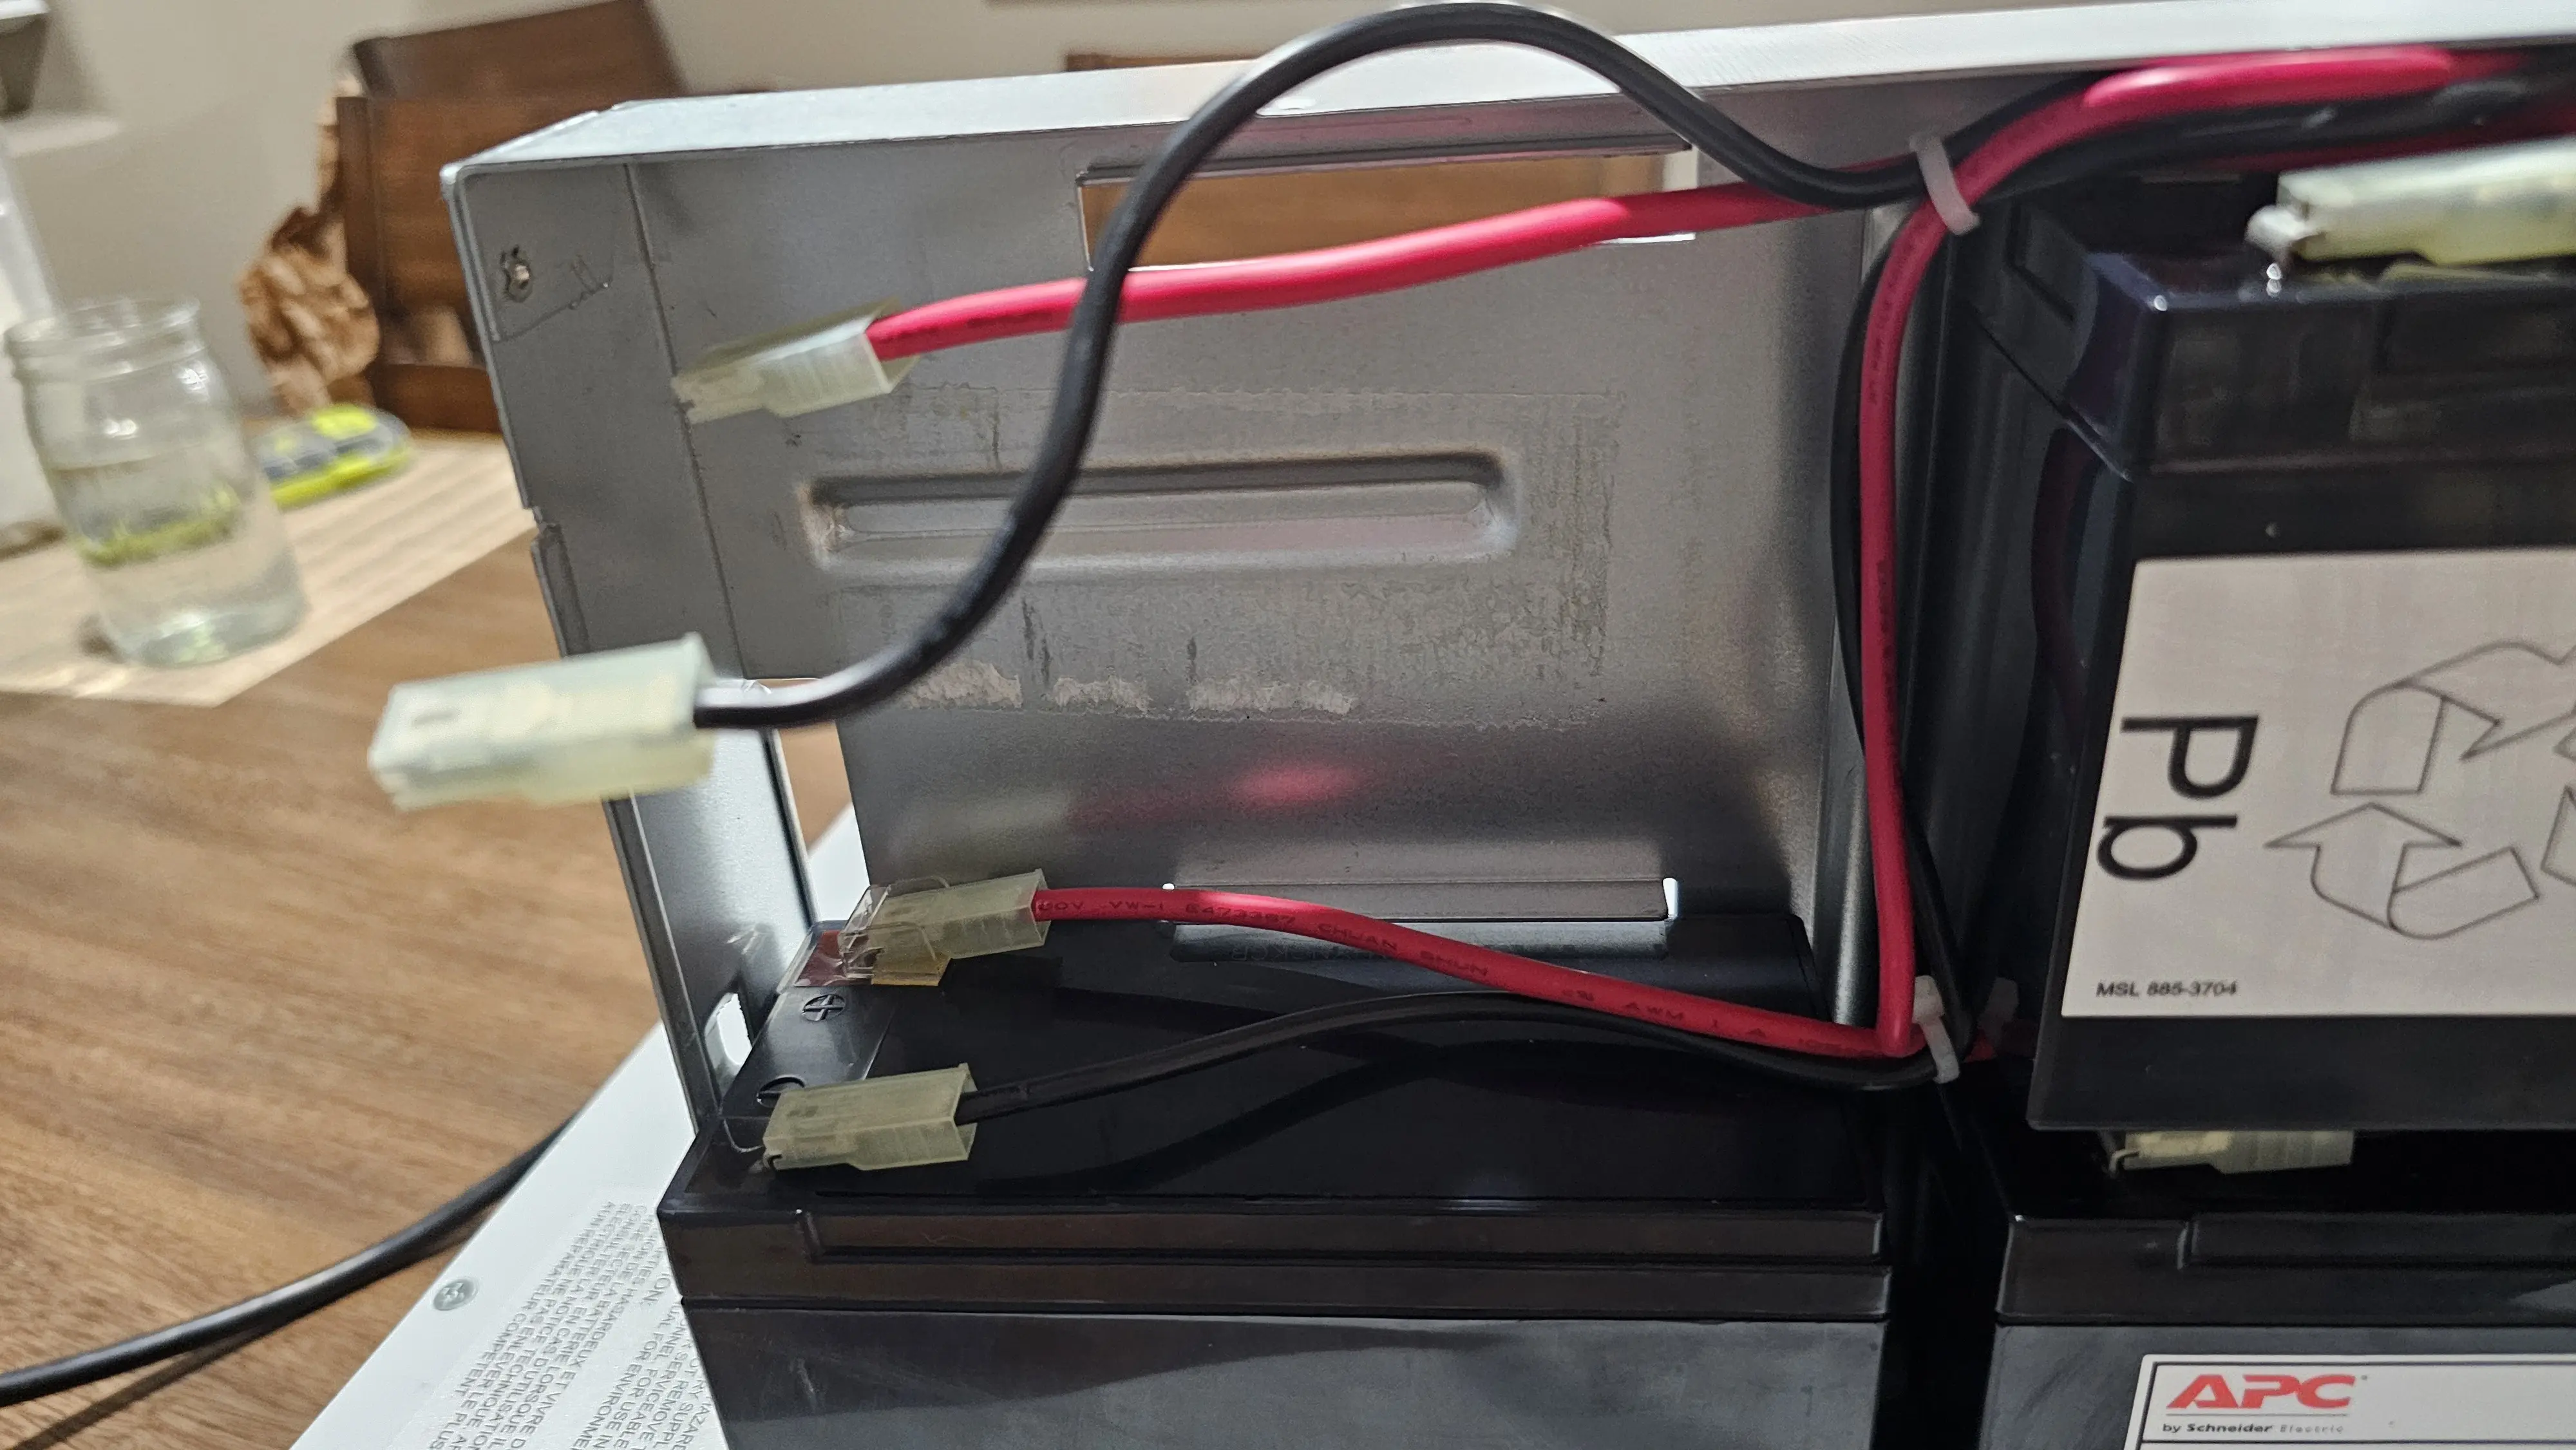
Step 4: Battery Removal and Assessment
Like top, the sled is held in by phillips head screws. The sled wiring harness is connected another connector which routes to the rest of the power components.
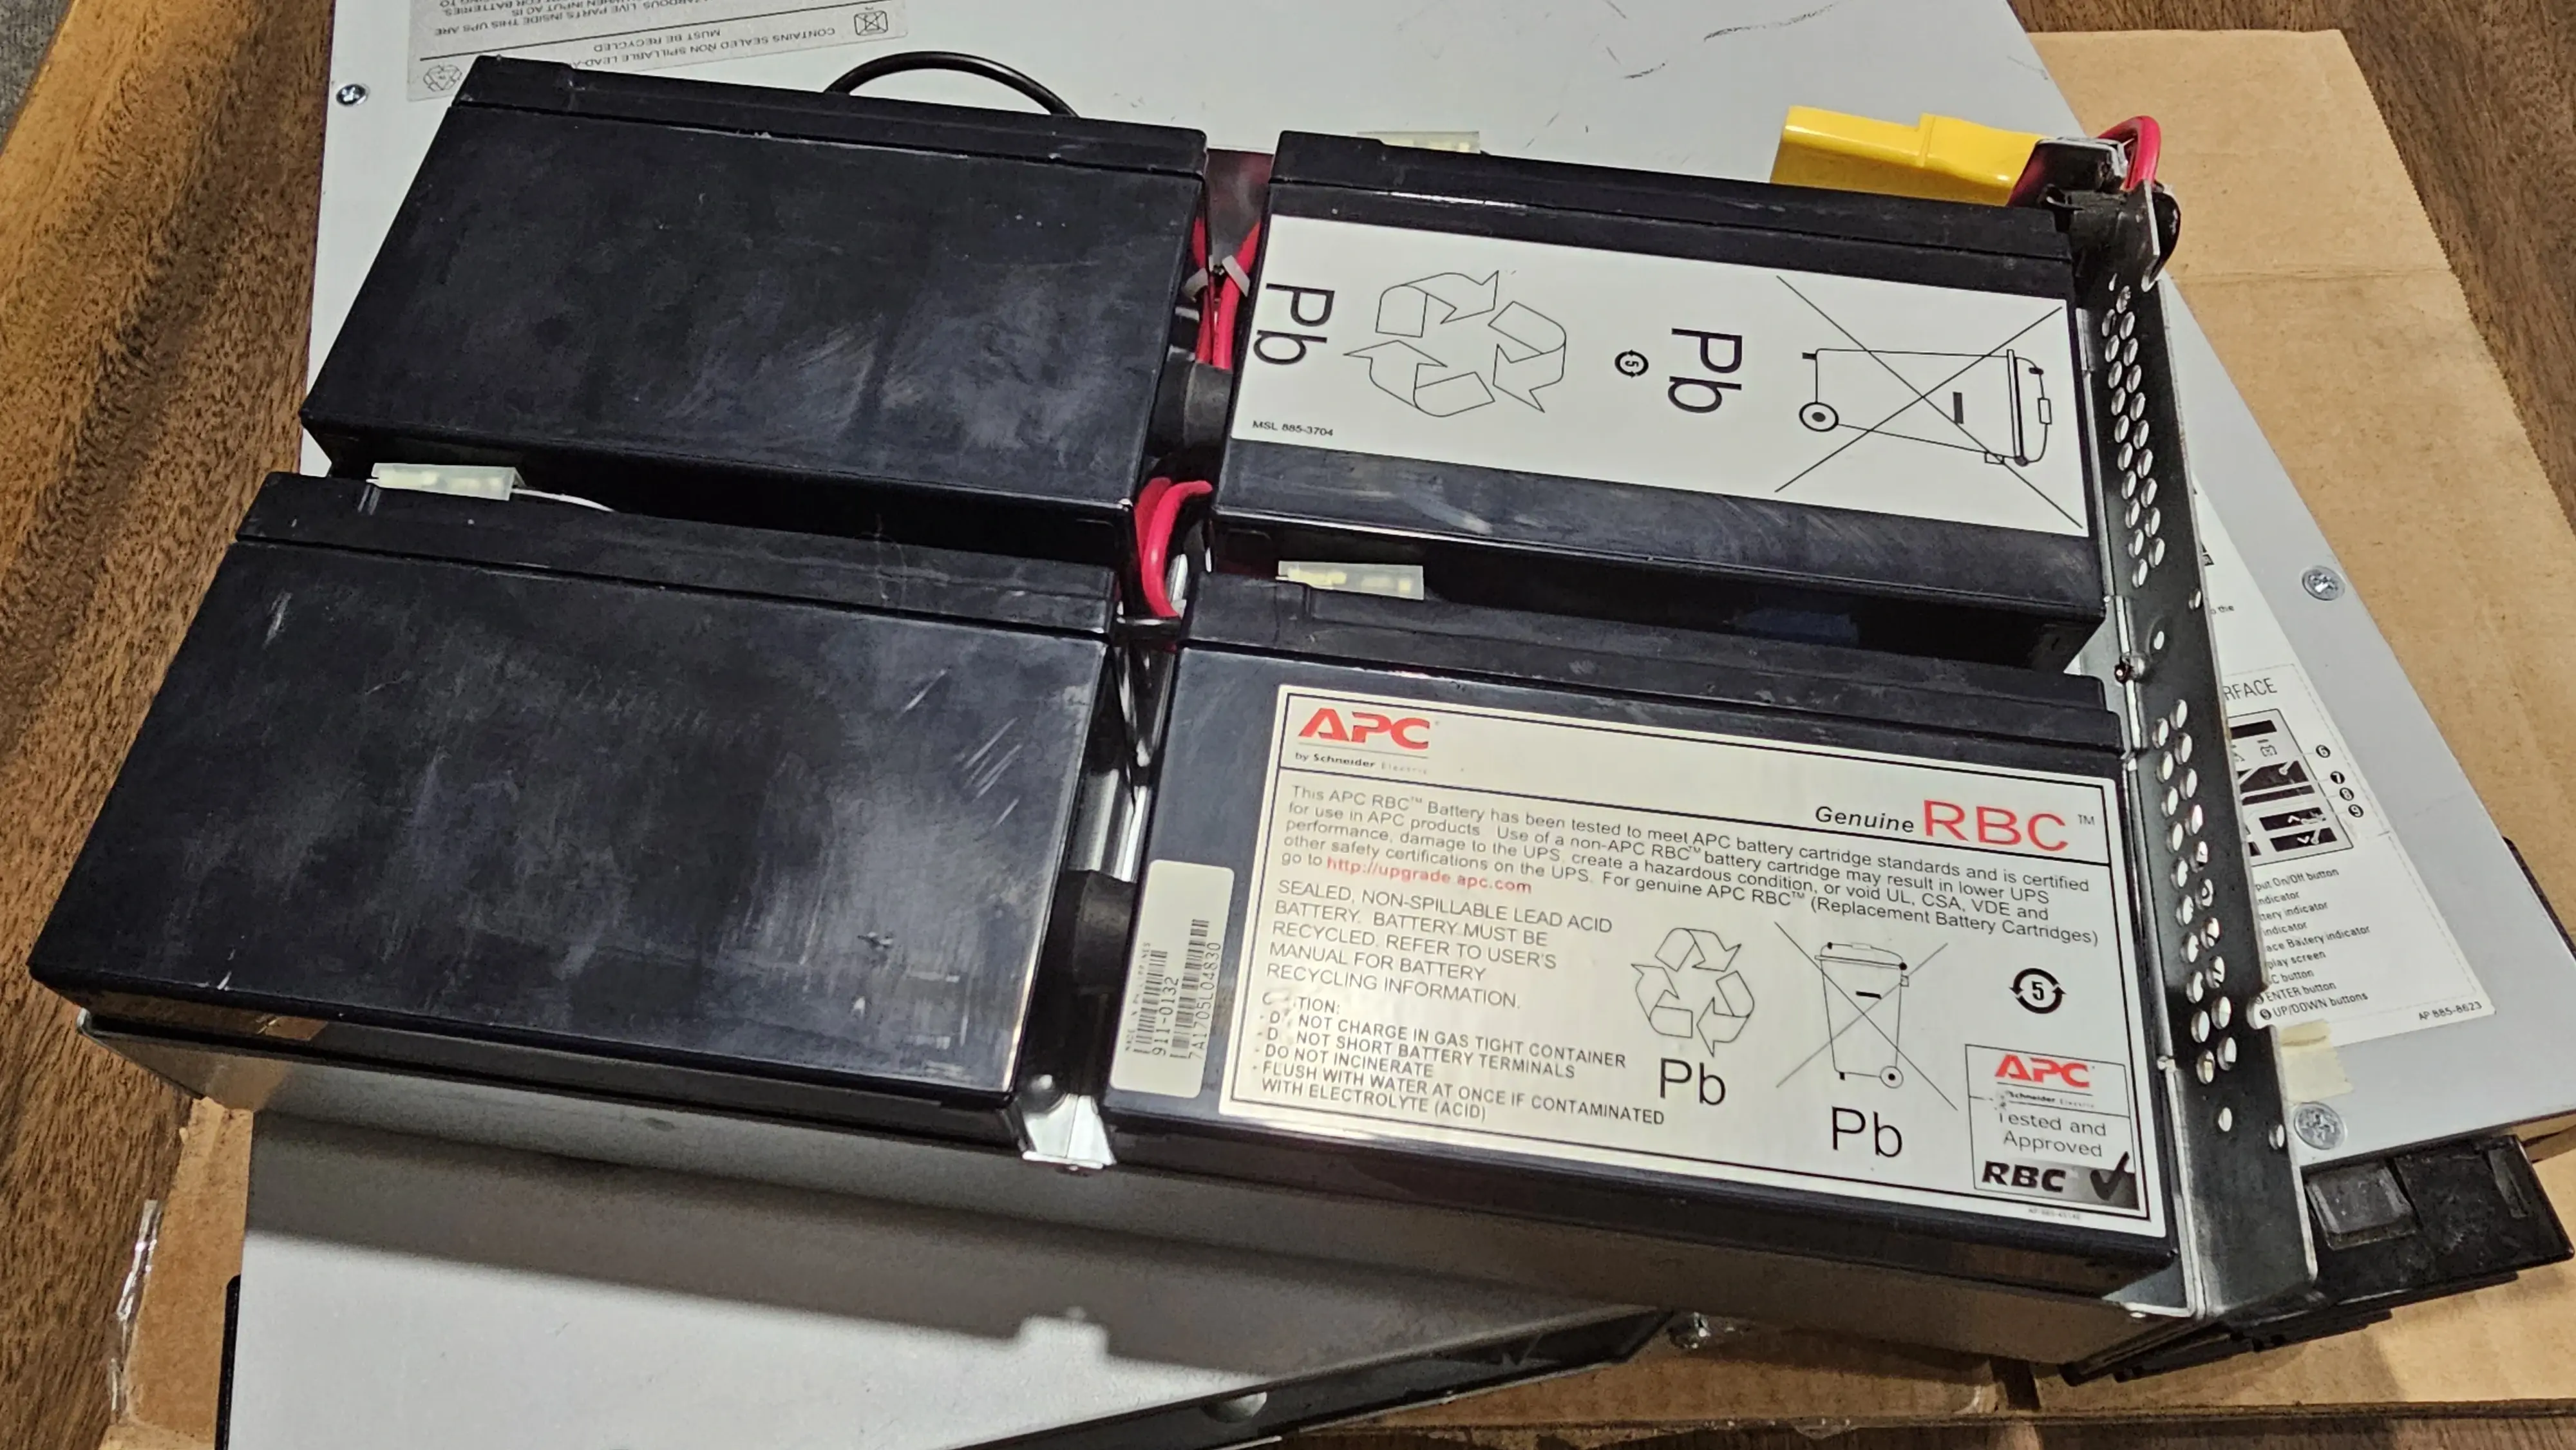
Once the sled was removed, I could see the batteries. They were in good condition, with no signs of swelling, leaking, or corrosion. I did not test them with a multimeter, but I did not expect them to be in good condition.
The toughest part of the project was getting the batteries out. These were OEM batteries installed at the factory, and the techs used strong double sided tape to keep them in place. Thankfully, I had a hair dryer to help heat up the tape and make it easier to remove. 15-20 seconds of blasting hot air on the metal underside was just enough to get the tape to release a little then yank them out with my hands.
The batteries are then connected via their terminals to the wire harness. Removing these is trivial.
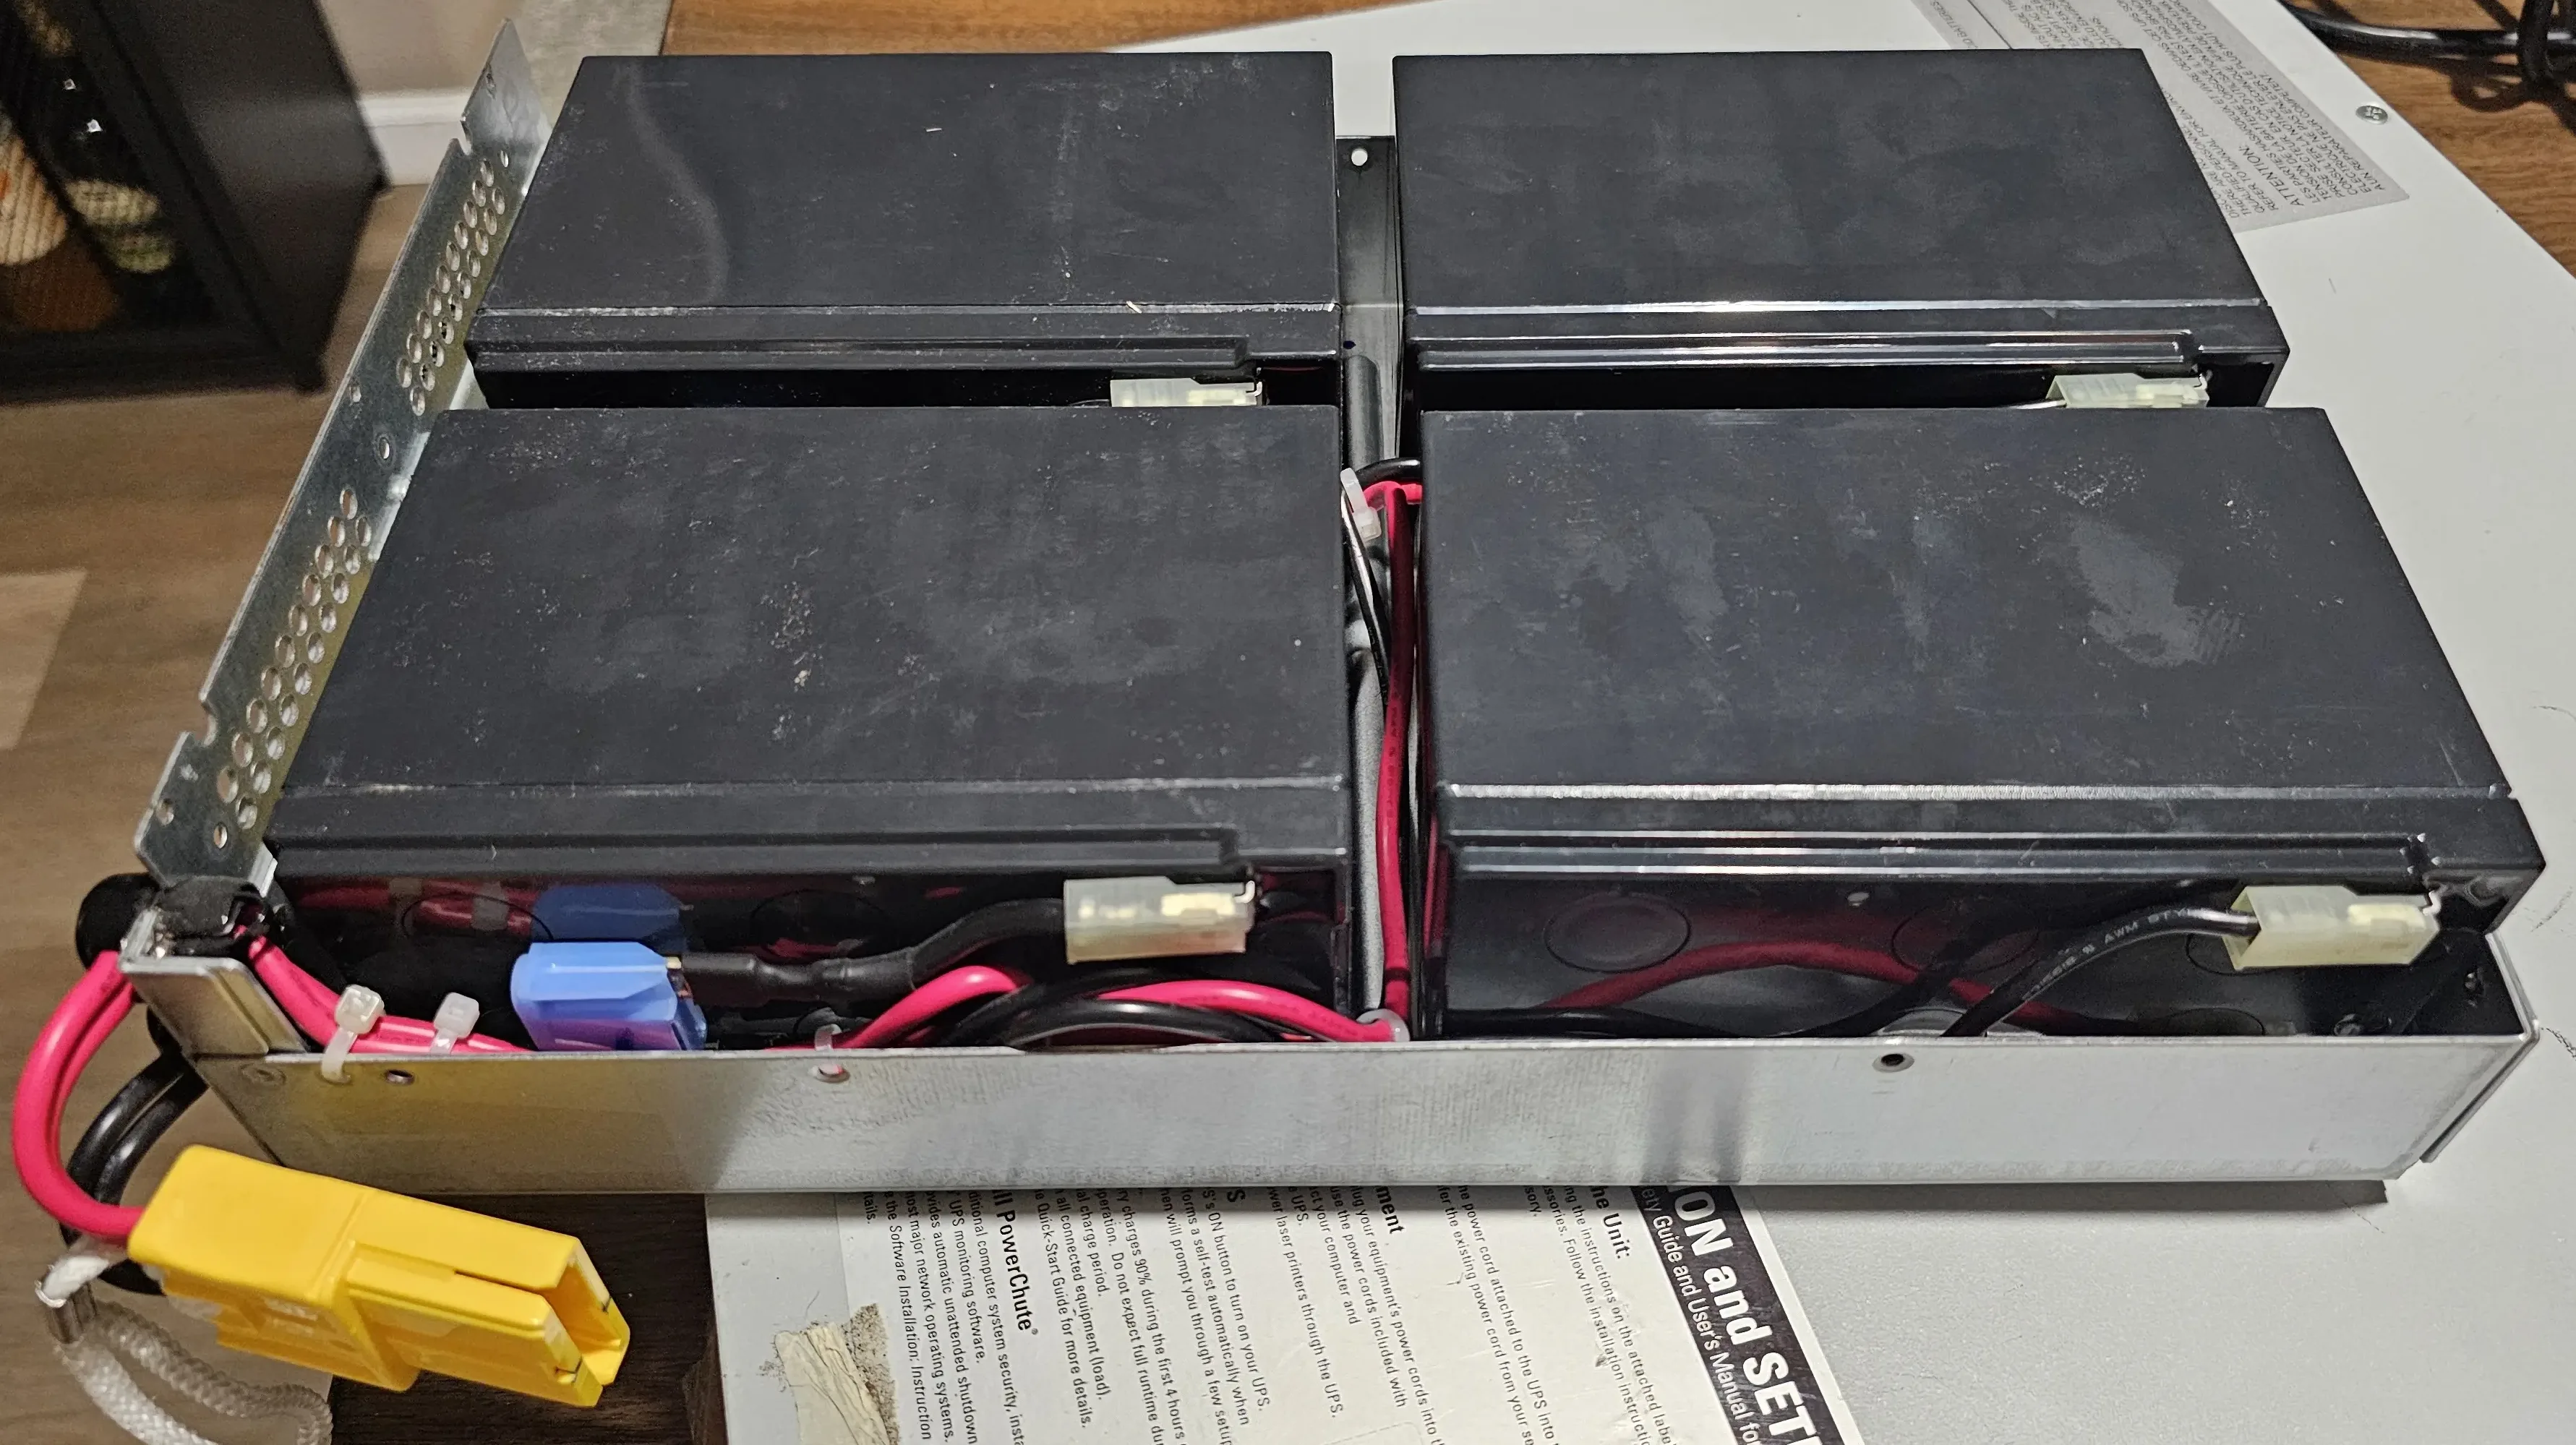
Step 5: Installing New Batteries
The heart of any UPS refurbishment!
With the old batteries out, installing the new set was refreshingly straightforward. It was a simple matter of placing them in the sled, connecting the wires to the terminals, and securing the sled back in. I added a small piece of VHB tape to the bottom of each new battery for good measure. No rattling around on my watch!

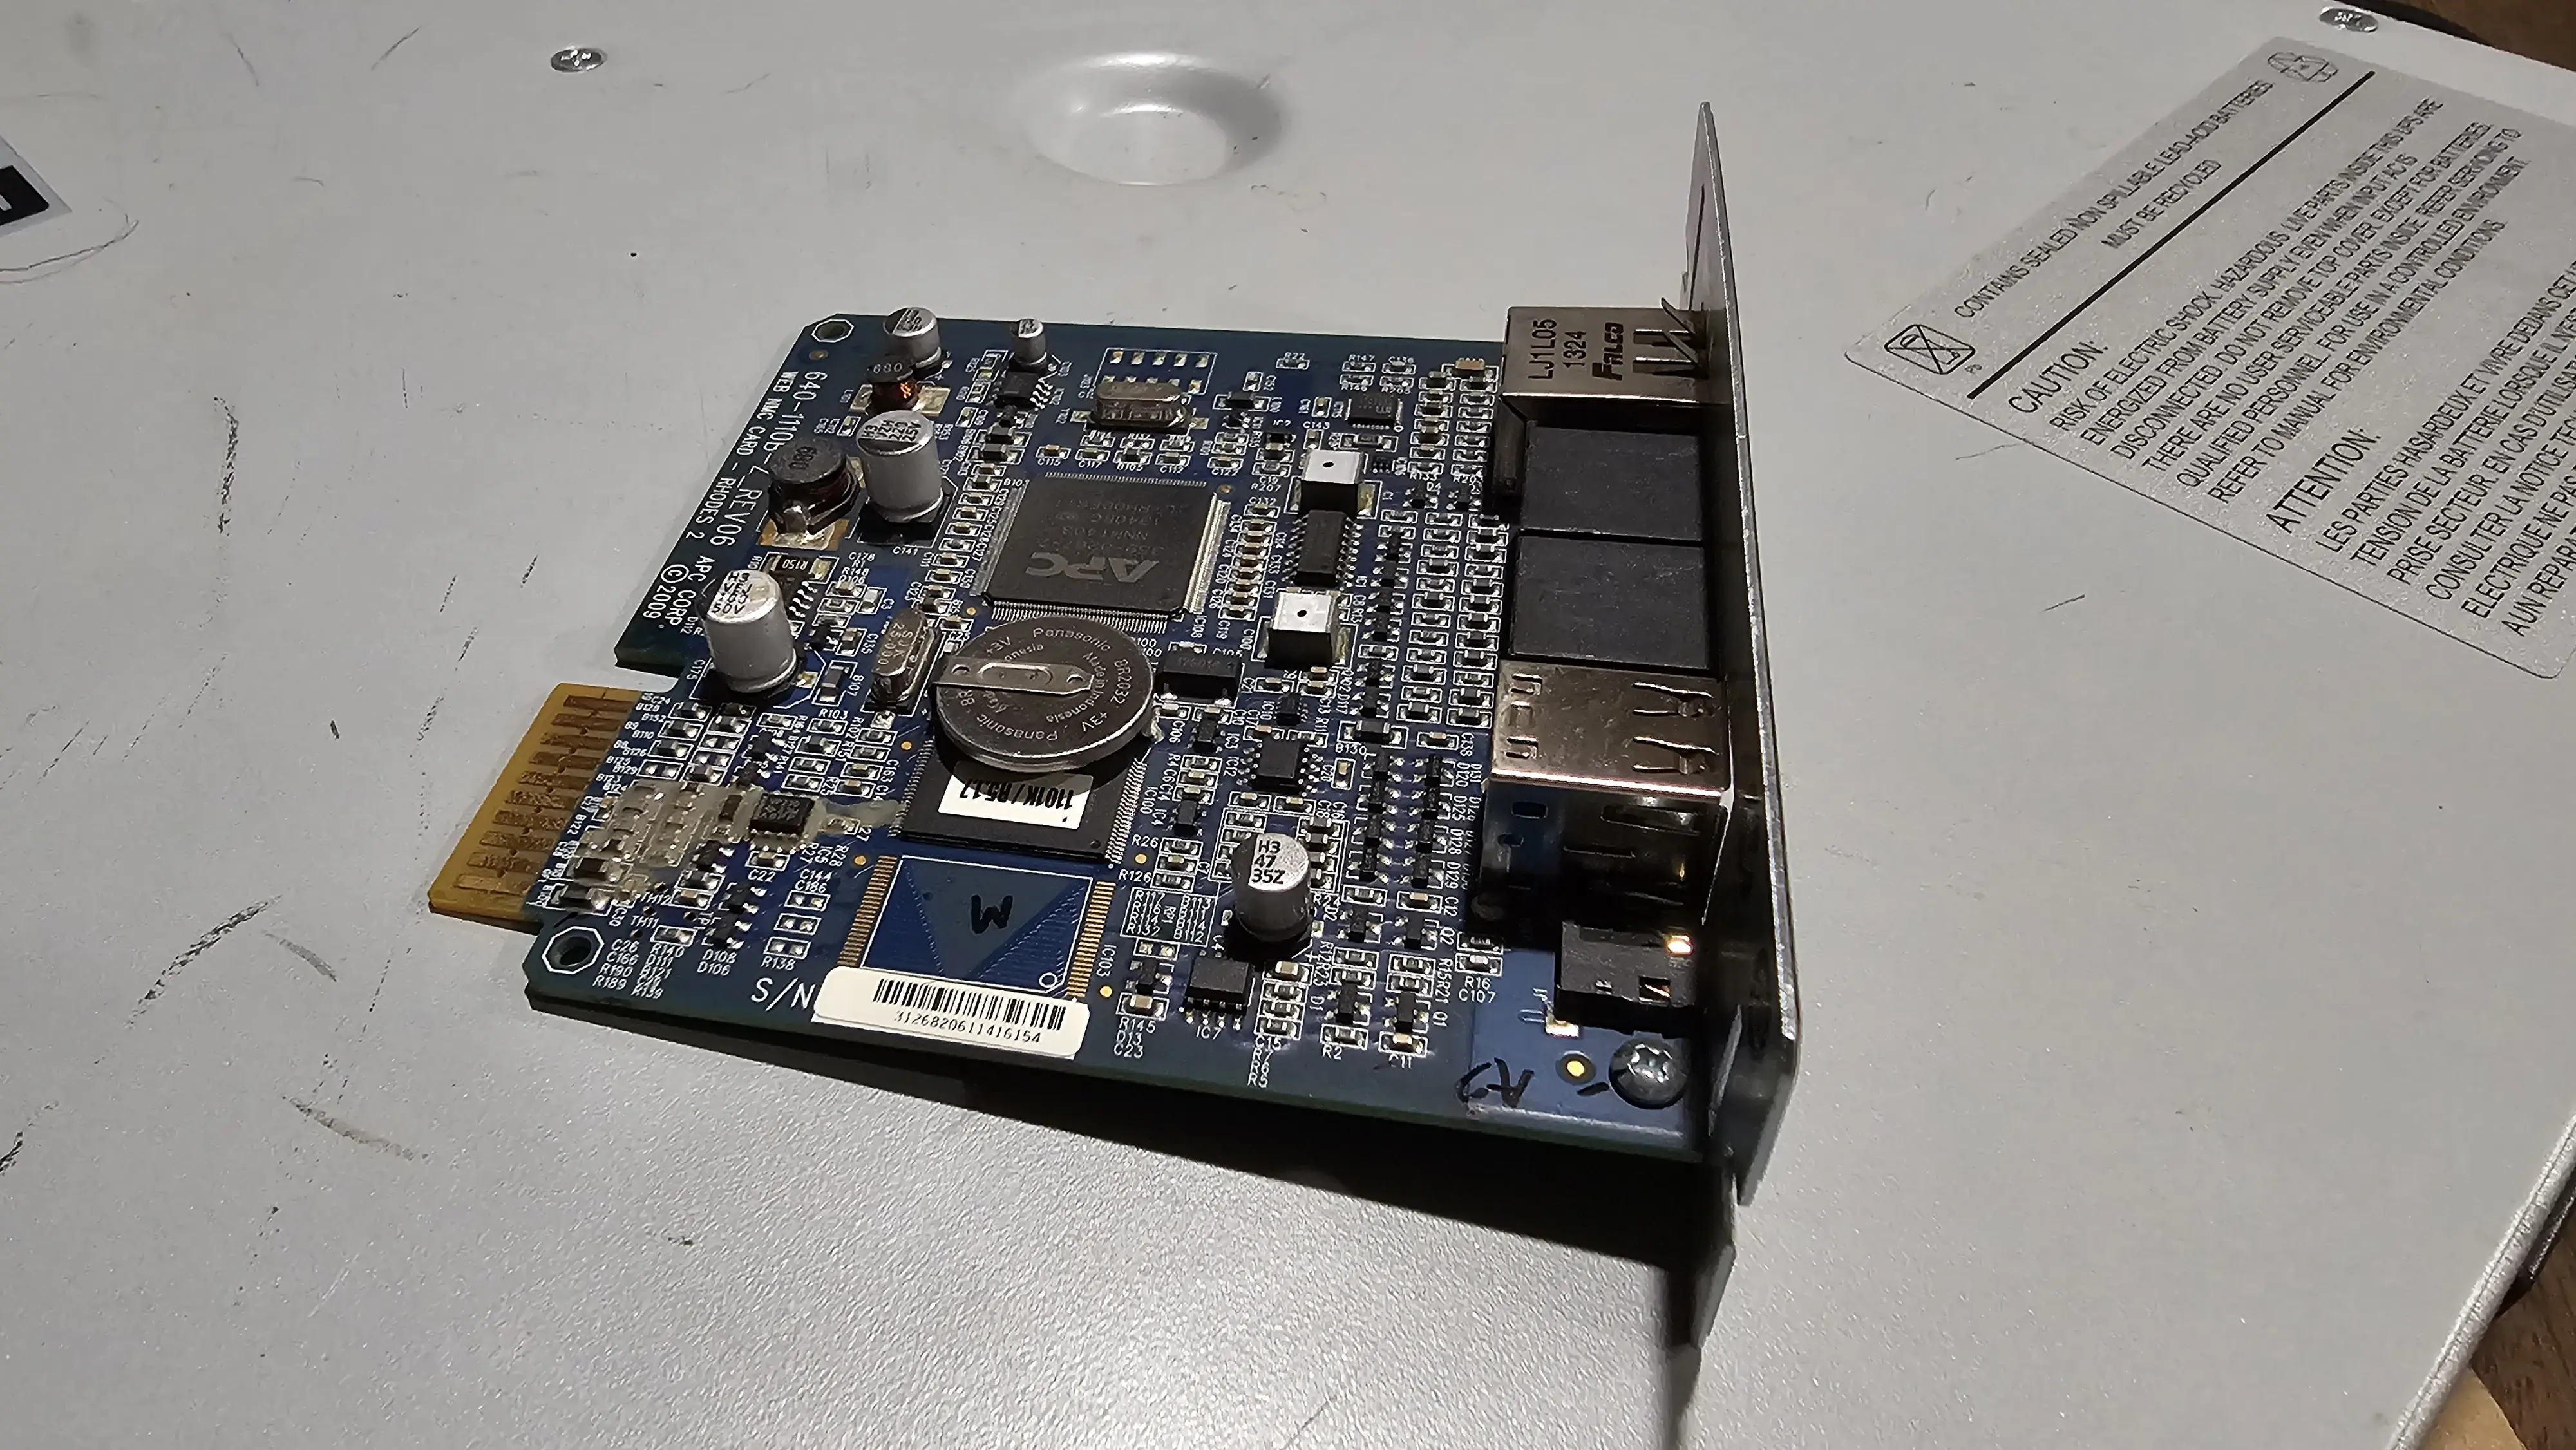
Step 6: Installing the New Management Card
Next up was the network management card. This just slotted neatly into the SmartSlot. Once powered, the UPS would automatically detect it. A satisfyingly plug-and-play upgrade.
Step 7: Reassembly and Final Checks
Putting it all back together. Reassembling the case was mostly the reverse of disassembly. I made sure no wires were pinched and all screws were secured.
Step 8: The Moment of Truth - Initial Power-Up
This is always the exciting/nerve-wracking part!
I turned it on and it booted up with a loud wave of vibrations. The front panel came to life, displaying “Normal”, and with an indicator that the batteries were charging. A comforting hum of the rear fan attested to that. A quick run of the self-test feature confirmed it: success!
Conclusion
And there you have it! For a total investment of $226.39 and a few hours of enjoyable tinkering, this APC SMT1500RM2U is now the reliable heart of my equipment rack. Considering a new unit with similar features can cost anywhere from $625 to over $1300, the savings are substantial. It’s a testament to the incredible value lurking in the used enterprise market if you’re willing to get your hands a little dirty. And, it’s more than just the money, it’s the satisfaction of bringing a quality piece of hardware back to life.
But the job isn’t truly done. It passes a self-test, but what happens under a real load? How long will it actually run my equipment?
Stay tuned for Part 2, where I’ll connect this refurbished beast to a moderate load and put it through a real-world torture test to calibrate the runtime and see if this gamble truly paid off.